Building a Customer Support Dashboard with Baserow
Let's see how you can build a Customer Support Dashboard with Baserow. During this tutorial, we will be creating a database and application which returns the particular record once the button is created. We are going to create this application from scratch. Before we start, ensure you have deployed Baserow, we will be self-hosting it on Elestio.
What is Baserow?
Baserow is an open-source, no-code database platform that allows users to create, manage, and collaborate on databases through a web interface. It offers customizable tables and fields, real-time collaboration, and integration with other tools, making it a powerful alternative to traditional spreadsheets. Baserow can be self-hosted, giving users full control over their data, and supports API access for custom applications.
Creating New Database
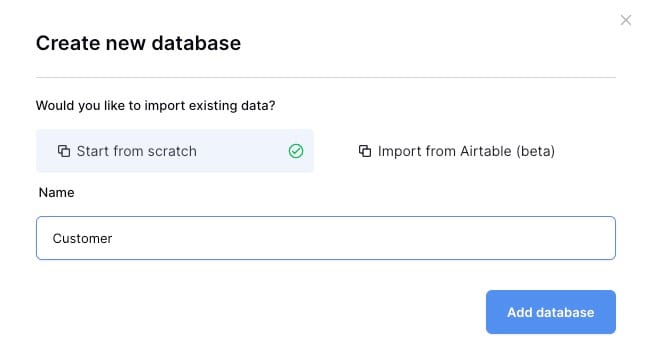
In Baserow, a database is a structured collection of data organized into tables, much like in traditional relational database management systems. Each database in Baserow can contain multiple tables, where each table consists of rows (records) and columns (fields). To create a new database click on Create New > Database. Add the name for your database and click on the Add database button.
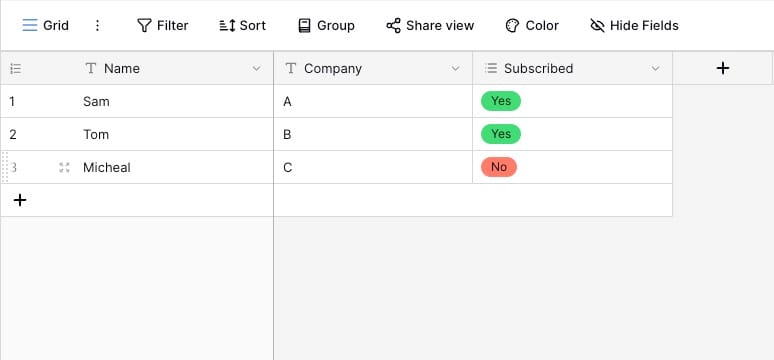
For this tutorial, we are going to create a sample customer base. We have 3 main entities in the database Name, Company, Subscribed. We will use data from this database moving ahead with our web application. The data we are providing has Name in string format, Company in string format, and Subscribed in multiple-choice format.
Creating New Application
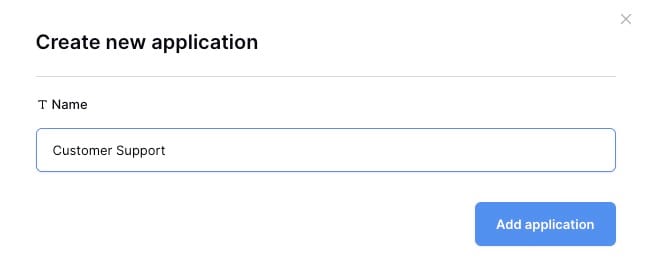
Next, we are going to create a new application. To create a new application click on Create New > Application. Add a name to your application and click on Add application.
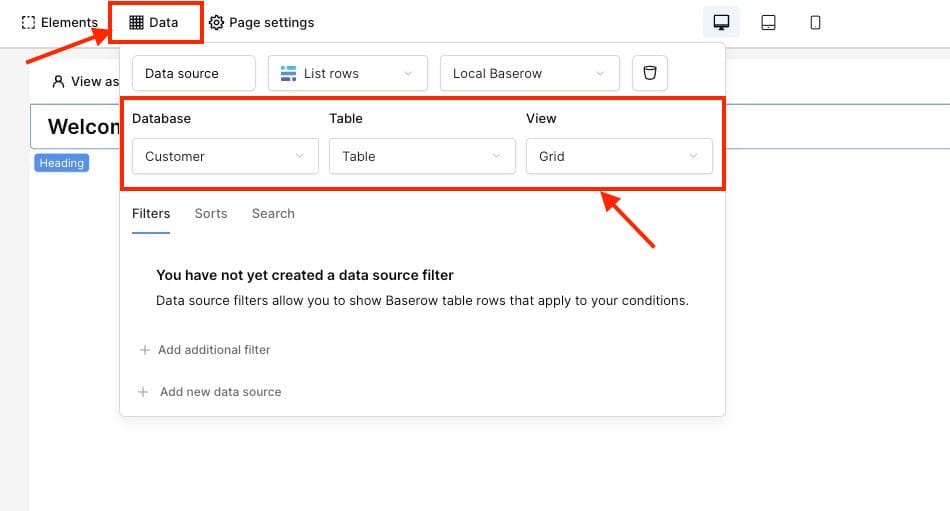
Once you are in the dashboard click on Data and add the data source List rows, Local Baserow
Database: Customer
Table: Table
View: Grid
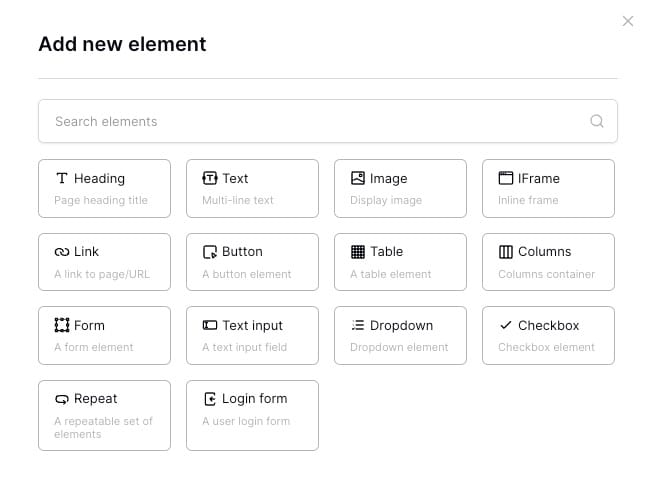
Now inside the application interface, click on "+" and Select the Button component. You can choose different components based on the type of application you want to build, but for the simplicity of this application, we will create an application that shows a notification with data once the button is clicked.
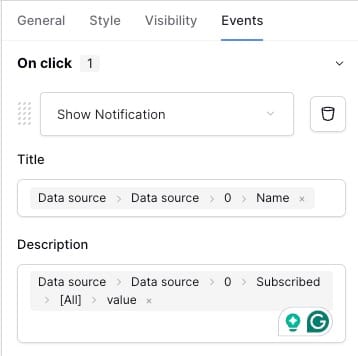
Once the button is added, head over to Events and choose
On click: Show Notification
Title: Data source > Data source > 0 > Name
Description : Data source > Data source > 0 > Subscribed > [All] > value
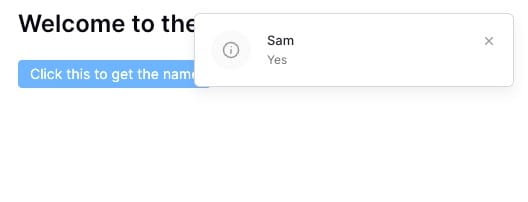
Testing Application
Head over to the preview section or publish it if you wish. To test the working of the application, click on the button and a pop-up notification with the first Name in the database with the Subscribed status.
And done! You have successfully created a simple customer support dashboard using Baserow's database and application features. You can create more complex, interactive and visually appealing dashboards using different components provided by Baserow
Thanks for reading ❤️
Thank you so much for reading and do check out the Elestio resources and Official Baserow documentation to learn more about Baserow. You can click the button below to create your service on Elestio and build your customer support dashboards. See you in the next one👋