How to build a Telegram AI bot with N8N
Let's see how you can create a Telegram AI bot with N8N open-source. During this tutorial, we will be creating the workflow using a template. You can create the same from scratch too. Before we start, ensure you have deployed N8N, we will be self-hosting it on Elestio.
What is N8N?
N8N is an open-source workflow automation tool that allows you to automate tasks and workflows by connecting various applications, services, and APIs together. It provides a visual interface where users can create workflows using a node-based system, similar to flowcharts, without needing to write any code. You can integrate n8n with a wide range of applications and services, including popular ones like Google Drive, Slack, GitHub, and more. This flexibility enables users to automate various tasks, such as data synchronization, notifications, data processing, and more.
Using Template
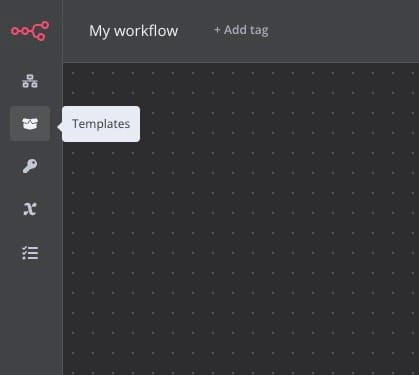
Once you log in to N8N you will land on the canvas page of N8N. To check out different templates and use one, head over to the templates section from the left sidebar.
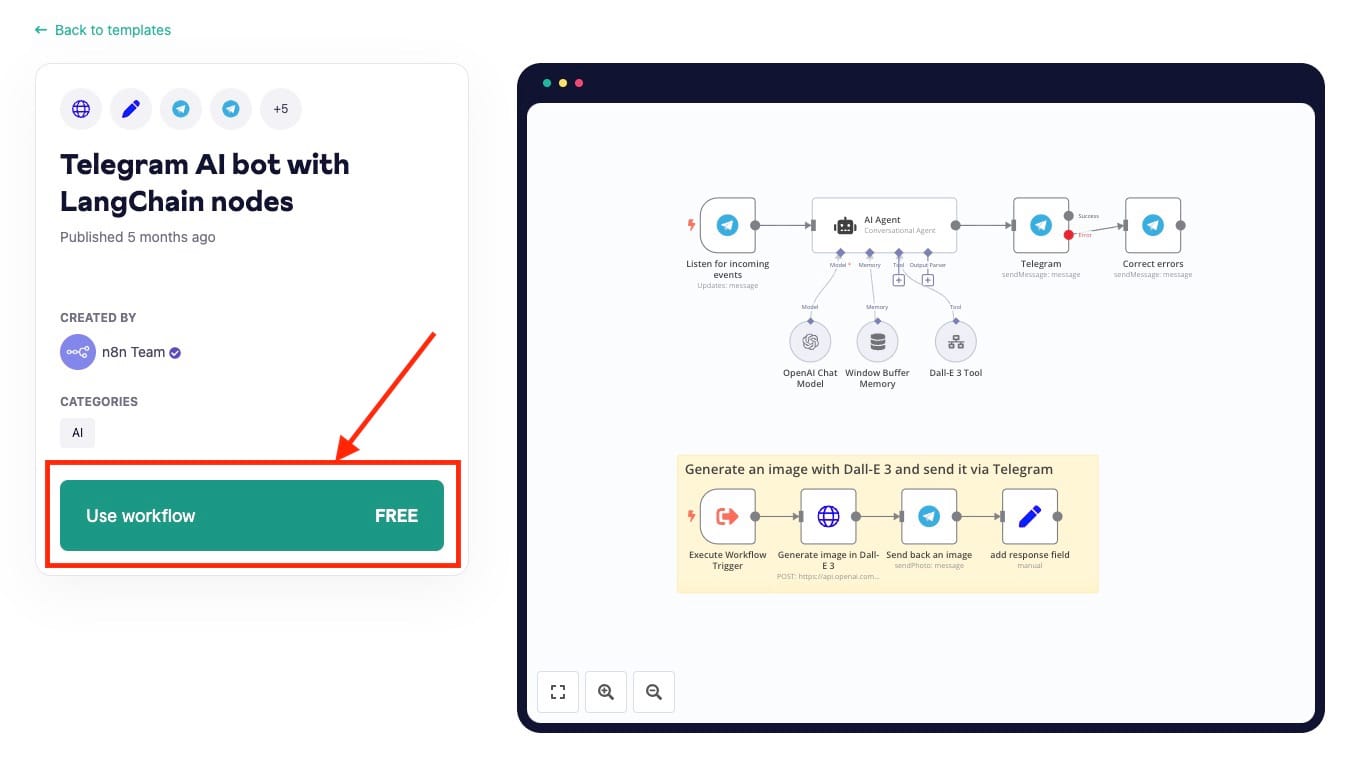
Then search for the "Telegram AI bot with LangChain nodes" template or simply click here. Next, click on Use Workflowpop-up.
Select the N8N instance you want to use this template for. If you have multiple N8N instances running then you can choose the appropriate one.
Configuring Telegram Credentials
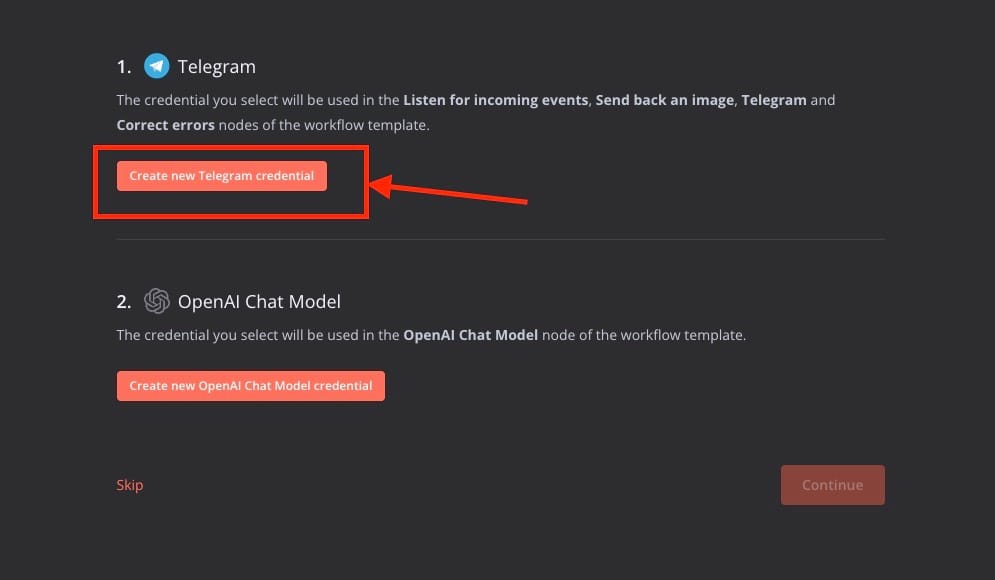
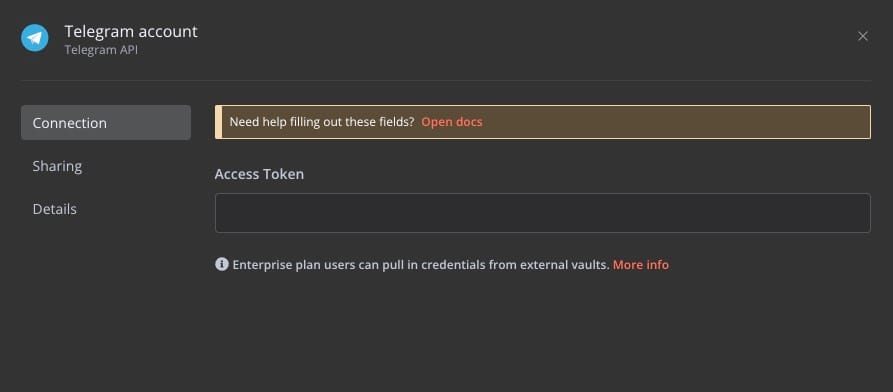
Now as you move ahead in the process you will be prompted with a pop-up to configure Telegram credentials. Click on Create New your Telegram credential
Now first let's create the token required for Telegram integration. Head over to your telegram account search for BotFather account and put in a command /newbot this will ask you to give your name for your application. Once you provide the name you will be provided with the token to access the HTTP API as shown in the image below. If you want additional configuration or information, head over to the Telegram N8N docs.

Copy the access token from the bot and paste it into the configuration section provided.
Configuring OpenAI Chat Model Credentials
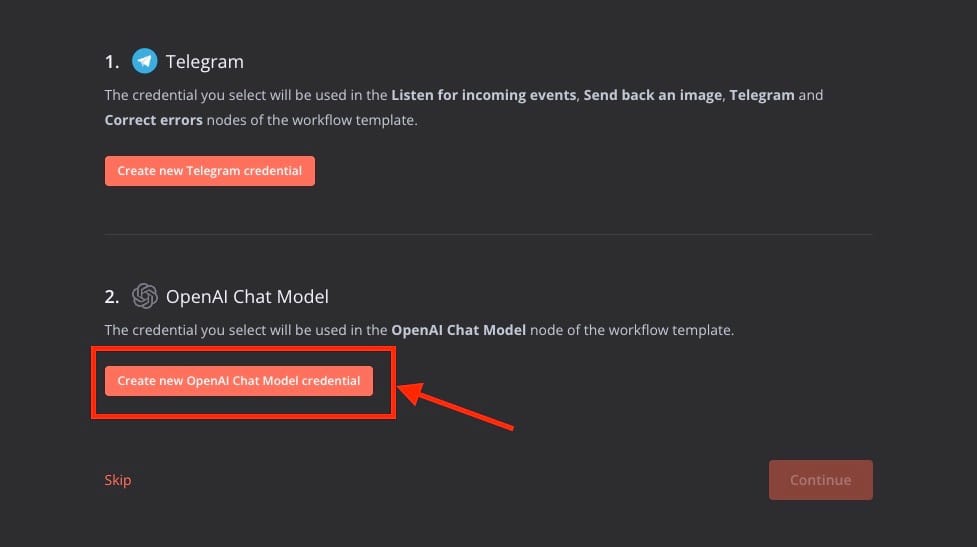
Next, we will configure the OpenAI Chat Model. Click on Create new OpenAI Chat Model credential
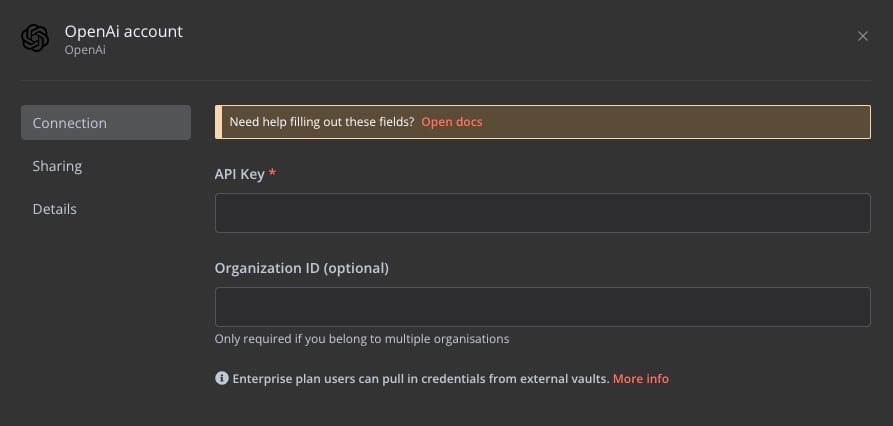
For this head over to the OpenAi API Keys dashboard and create a new API key for this application. Once created, add the key to the API Key section, add the optional organization ID and head to the next step.
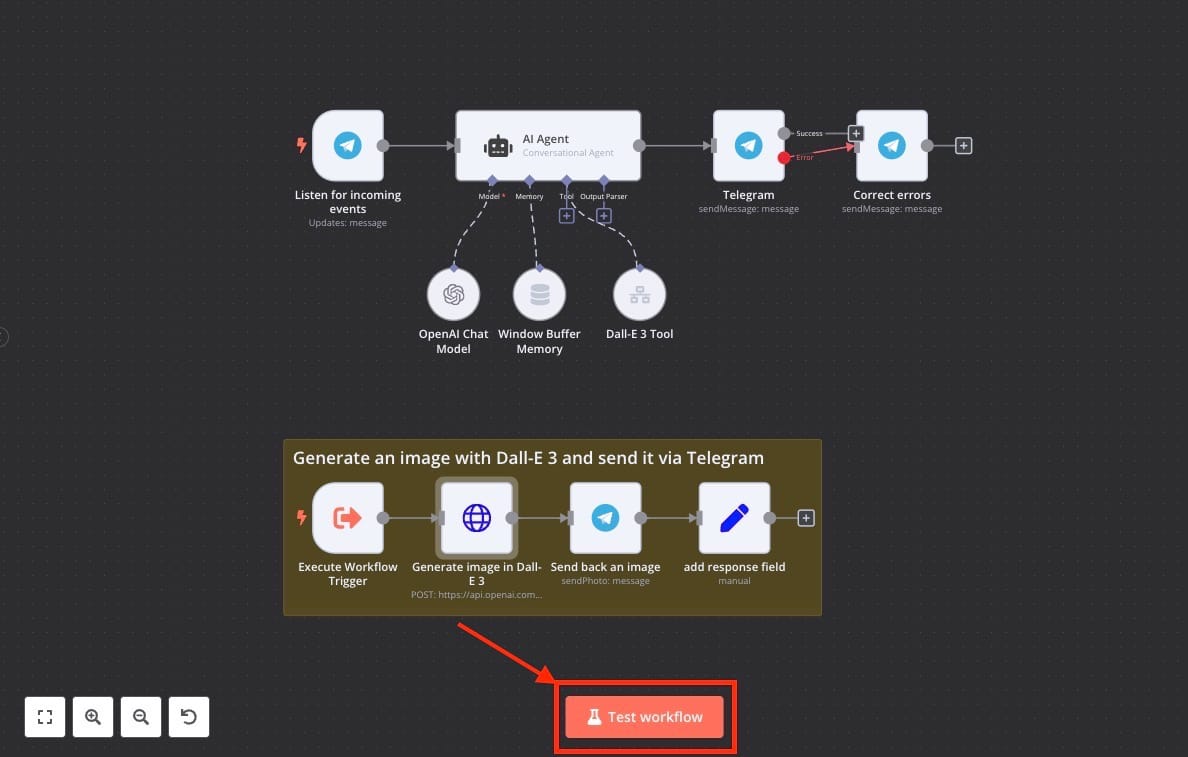
Here is the map that will work as a workflow. To test out this workflow, you can click on Test Workflow. This workflow listens for incoming events from telegram, his request is forwarded to AI agent (OpenAI) and after processing the output image is sent back to telegram.
The following webhook command can be found from the starting components and can be used to trigger the webhooks and provide the prompts required by the application to create images using OpenAI. You will find similar
https://<Elestio Domain>/webhook-test/<Your N8N Service Id>/webhookAnd done! You have successfully created a telegram AI bot that takes inputs and responds with the image related to the prompt given. You can form multiple such workflows based on the OpenAI function type.
Thanks for reading ❤️
Thank you so much for reading and do check out the Elestio resources and Official N8N documentation to learn more about N8N. You can click the button below to create your service on Elestio and start building your Telegram AI bot that generates images as requested in the chats. See you in the next one👋