How to Deploy Your Go API on Elestio
As a developer, you might have built multiple APIs and integrated them with your web application. So, In today's tutorial, we are going to see how you can quickly build a simple Ping-Pong API and deploy it easily and quickly on Elestio.
Let's set it up!
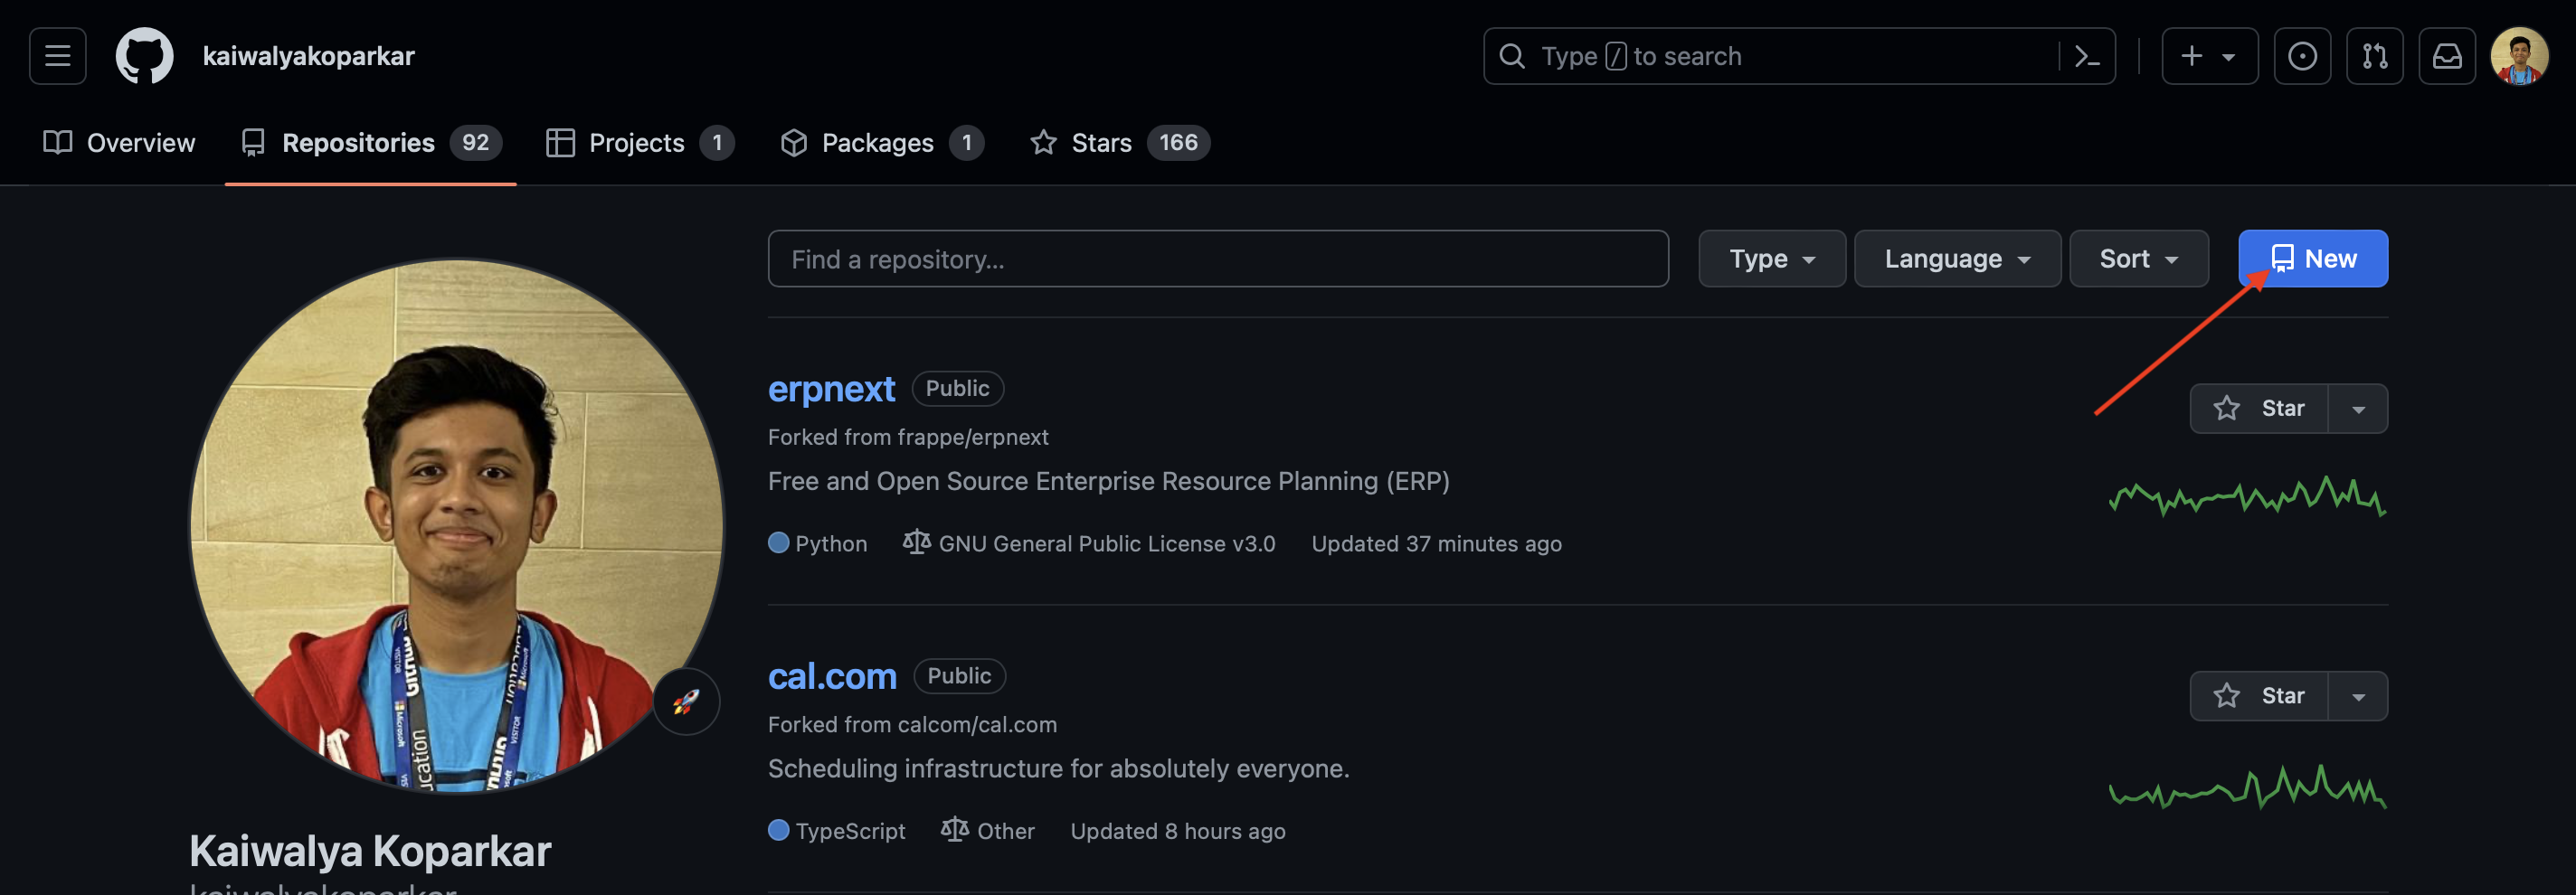
I presume you already have an API ready that you want to deploy. But for this tutorial, I will start you through the steps from the very beginning so feel free to skip some steps (But remember not all) as your codebase will need some changes to make your deployment successful. Let's start with creating a GitHub repository for your API

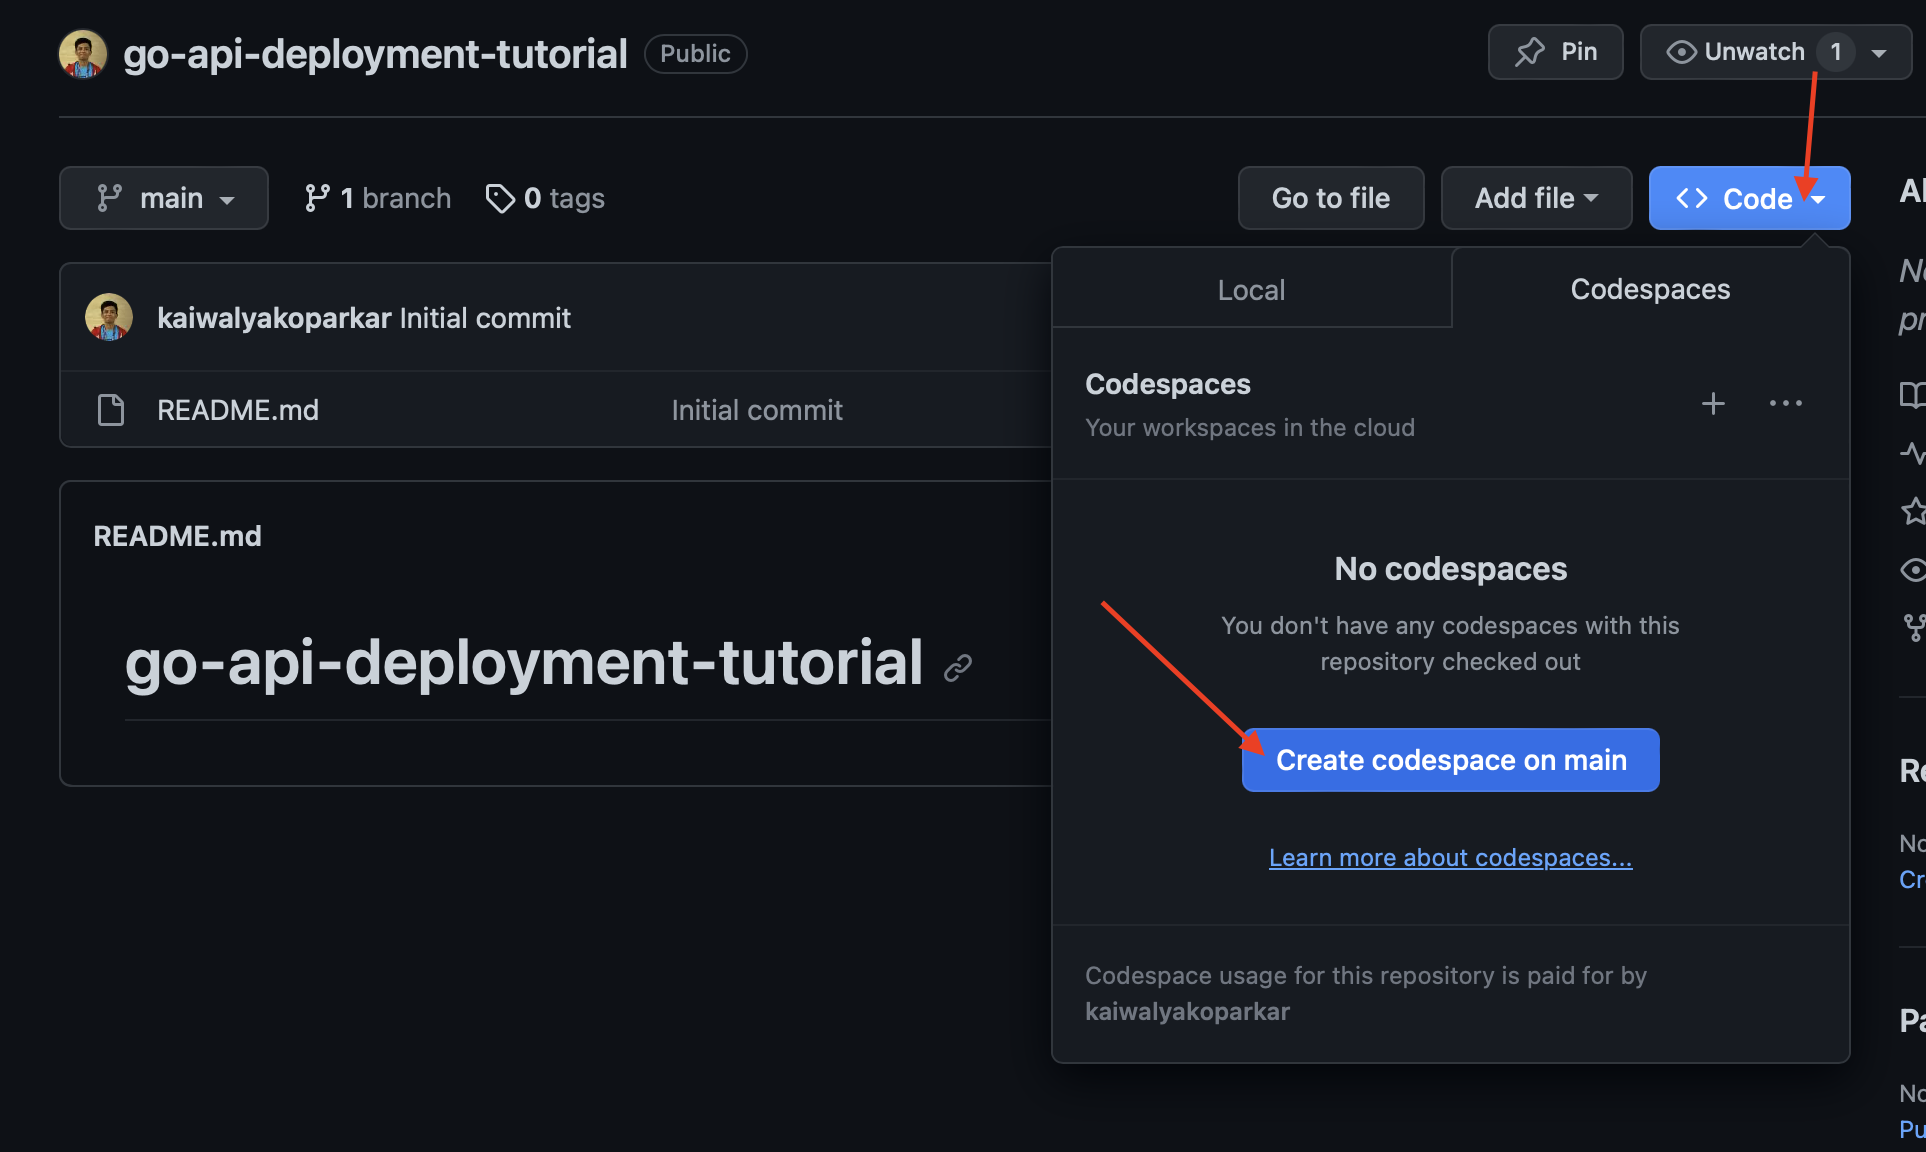
Next, we will go ahead and open this newly created repository in GitHub Codespaces. As I said if you already have the repo I recommend you use GitHub Codespaces or the code editor where you have already set your project
Building your Go API
This is an optional step, if you already have an API, please feel free to skip this
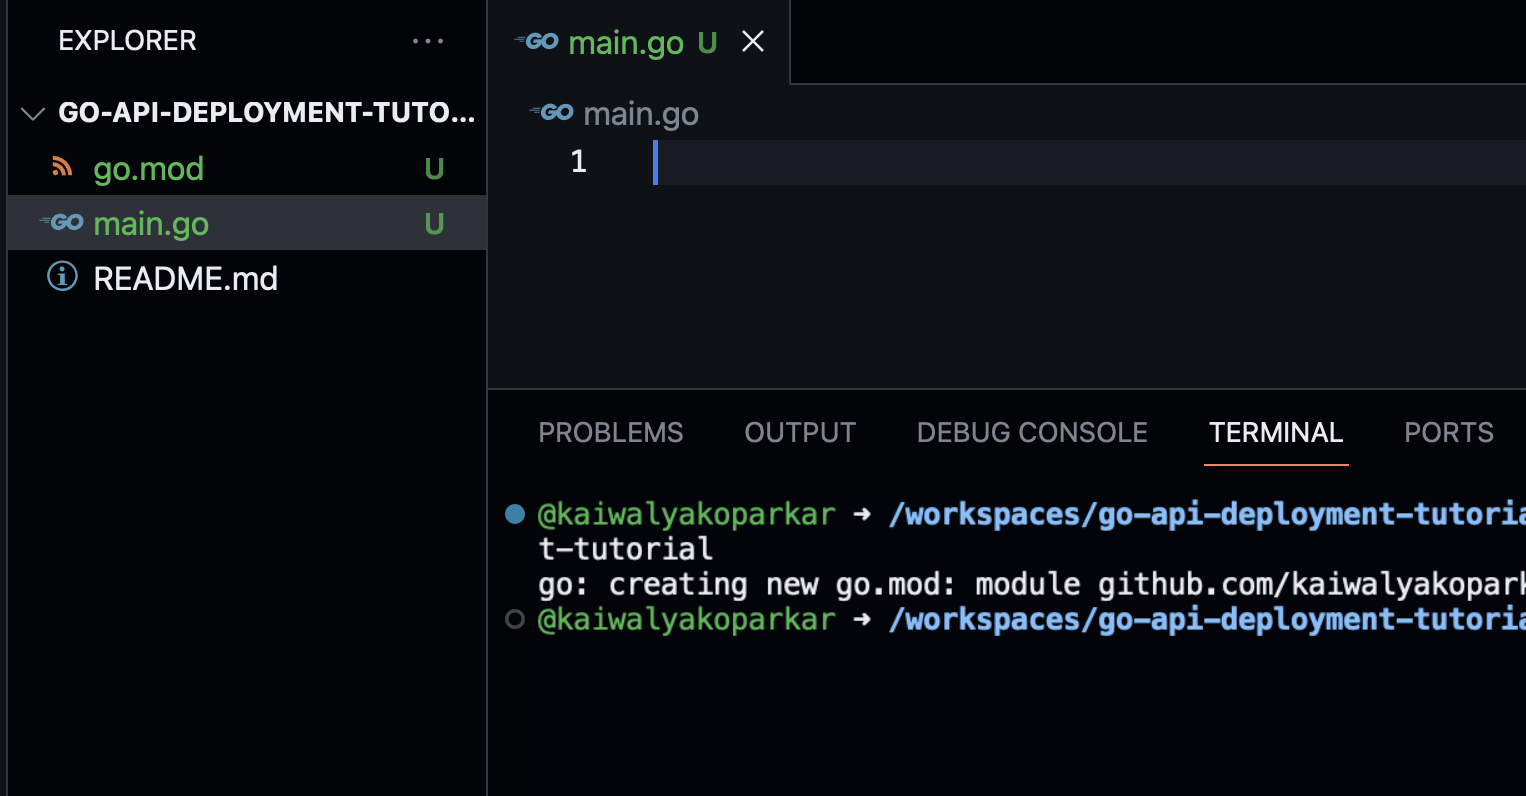
Once the codespaces are launched, head over to the terminal and enter the following command that will create a .modfolder in the repository
go mod init github.com/<username>/<repo-name>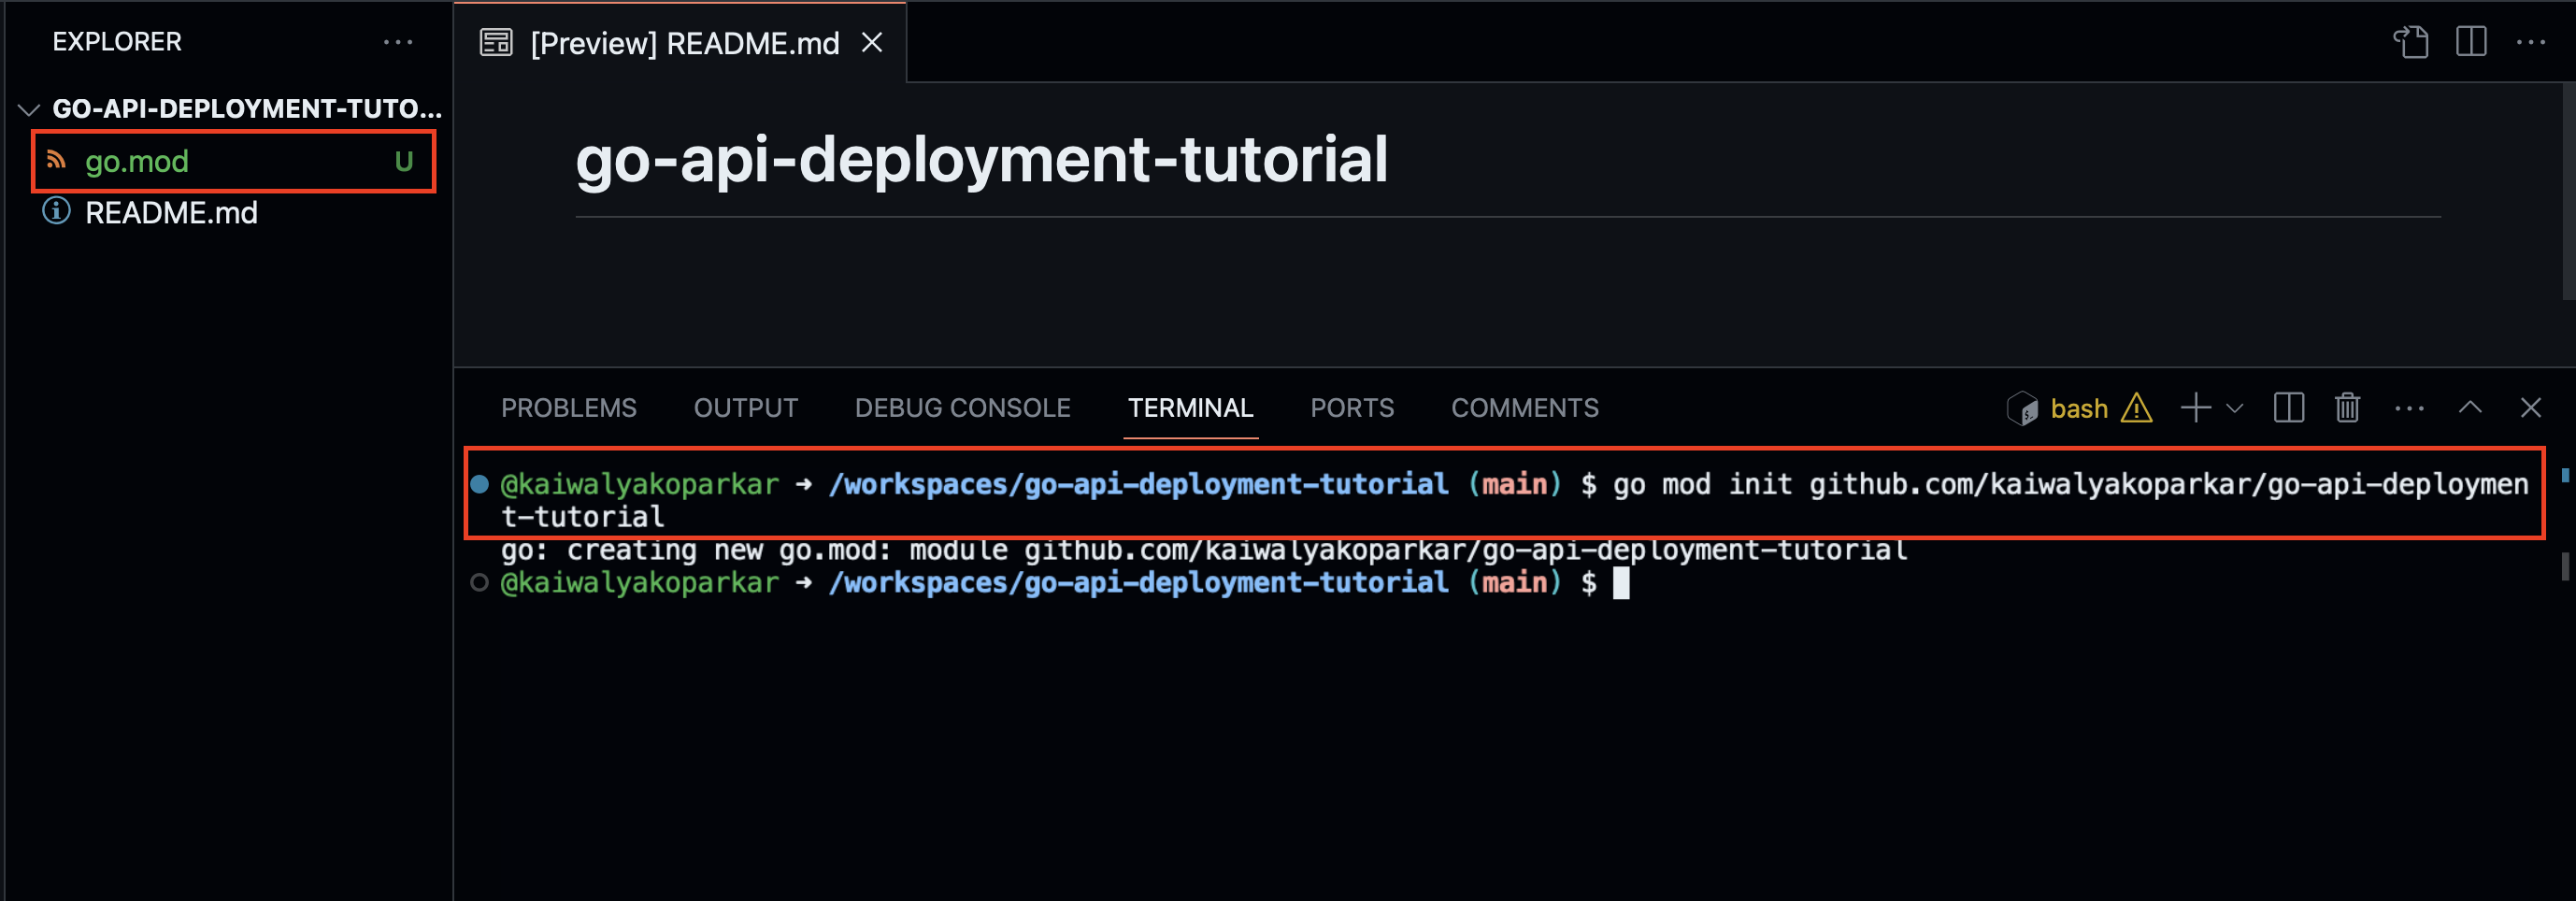
Next, create main.go file in the root directory
Inside main.go file add the following code. In this tutorial, I won't be explaining the code if you want that let me know in the comments and I will get you a dedicated tutorial on it.
package main

import (
	"fmt"
	"github.com/gin-gonic/gin"
	"net/http"
)

func main() {

	fmt.Println("Welcome to the Ping-Pong API")

	//Initializing the gin package
	router := gin.Default()

	//Endpoint we are going to use today
	router.GET("/ping", handlePing)

	//Server runs on everywhere IP and on 8080 port
	router.Run("0.0.0.0:8080")
}

//Function to handle the /ping endpoint
func handlePing(g *gin.Context) {
	g.IndentedJSON(http.StatusOK, gin.H{"message": "Pong!"})
}
After you have added the code main.go file, head over to the terminal and run the following command. It will create a .sum file with all the required libraries mentioned in .mod the file
go get .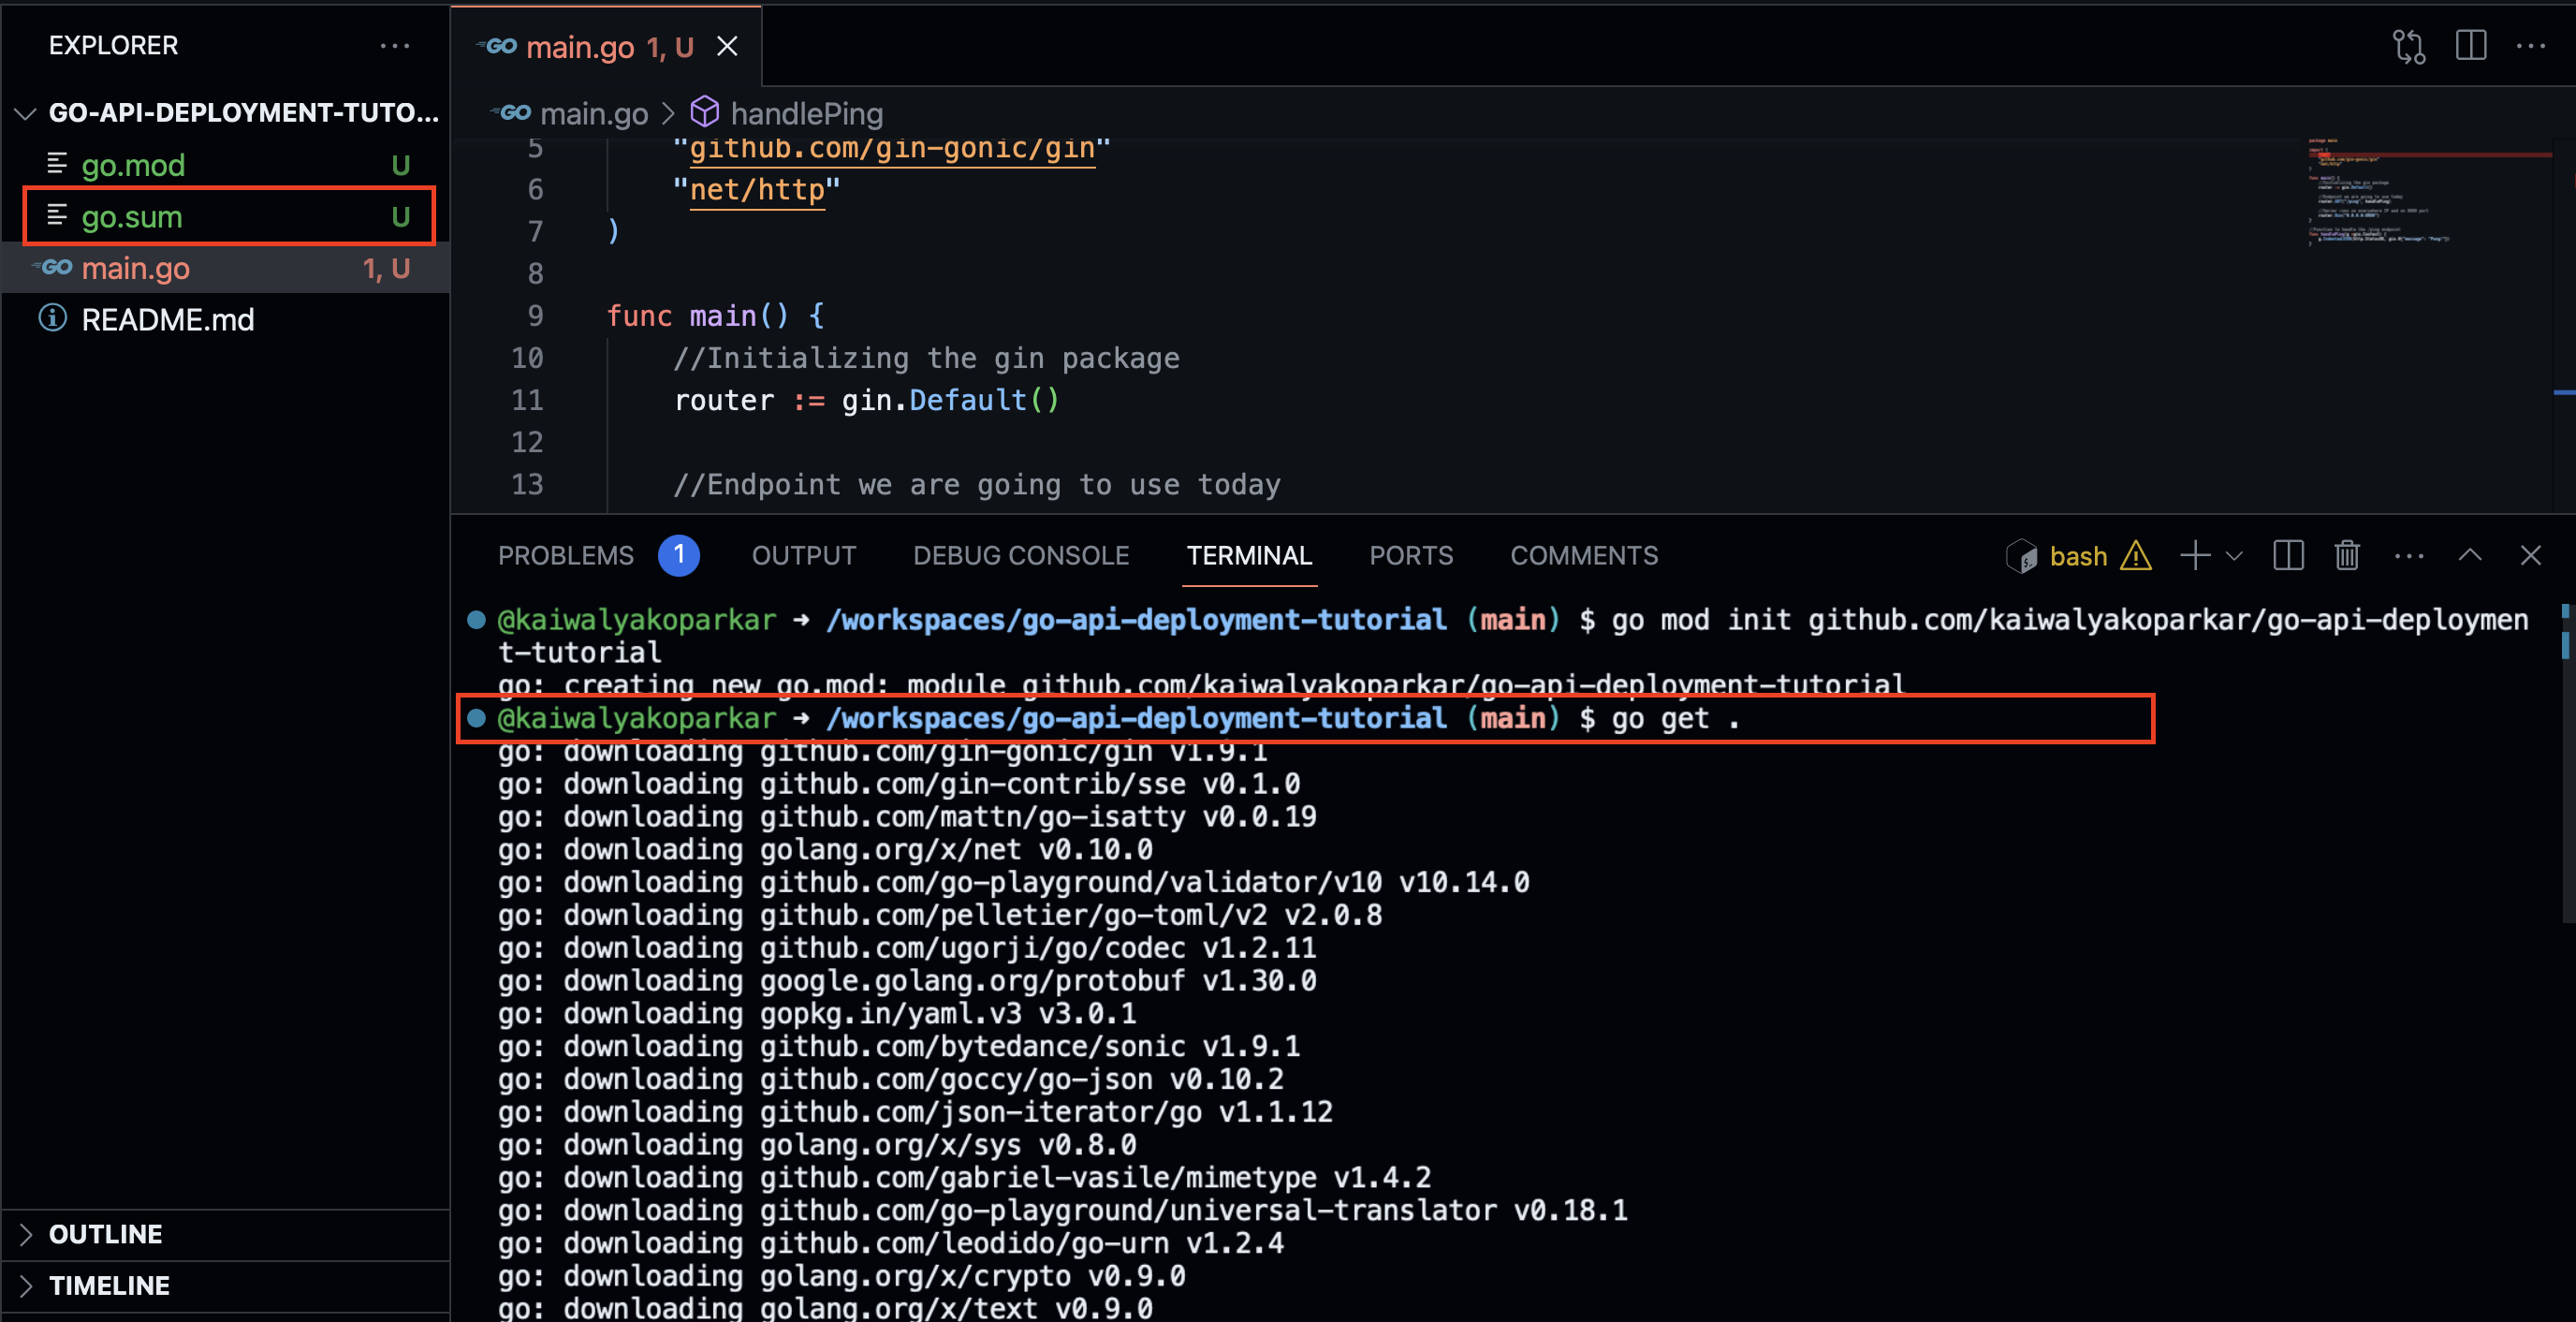
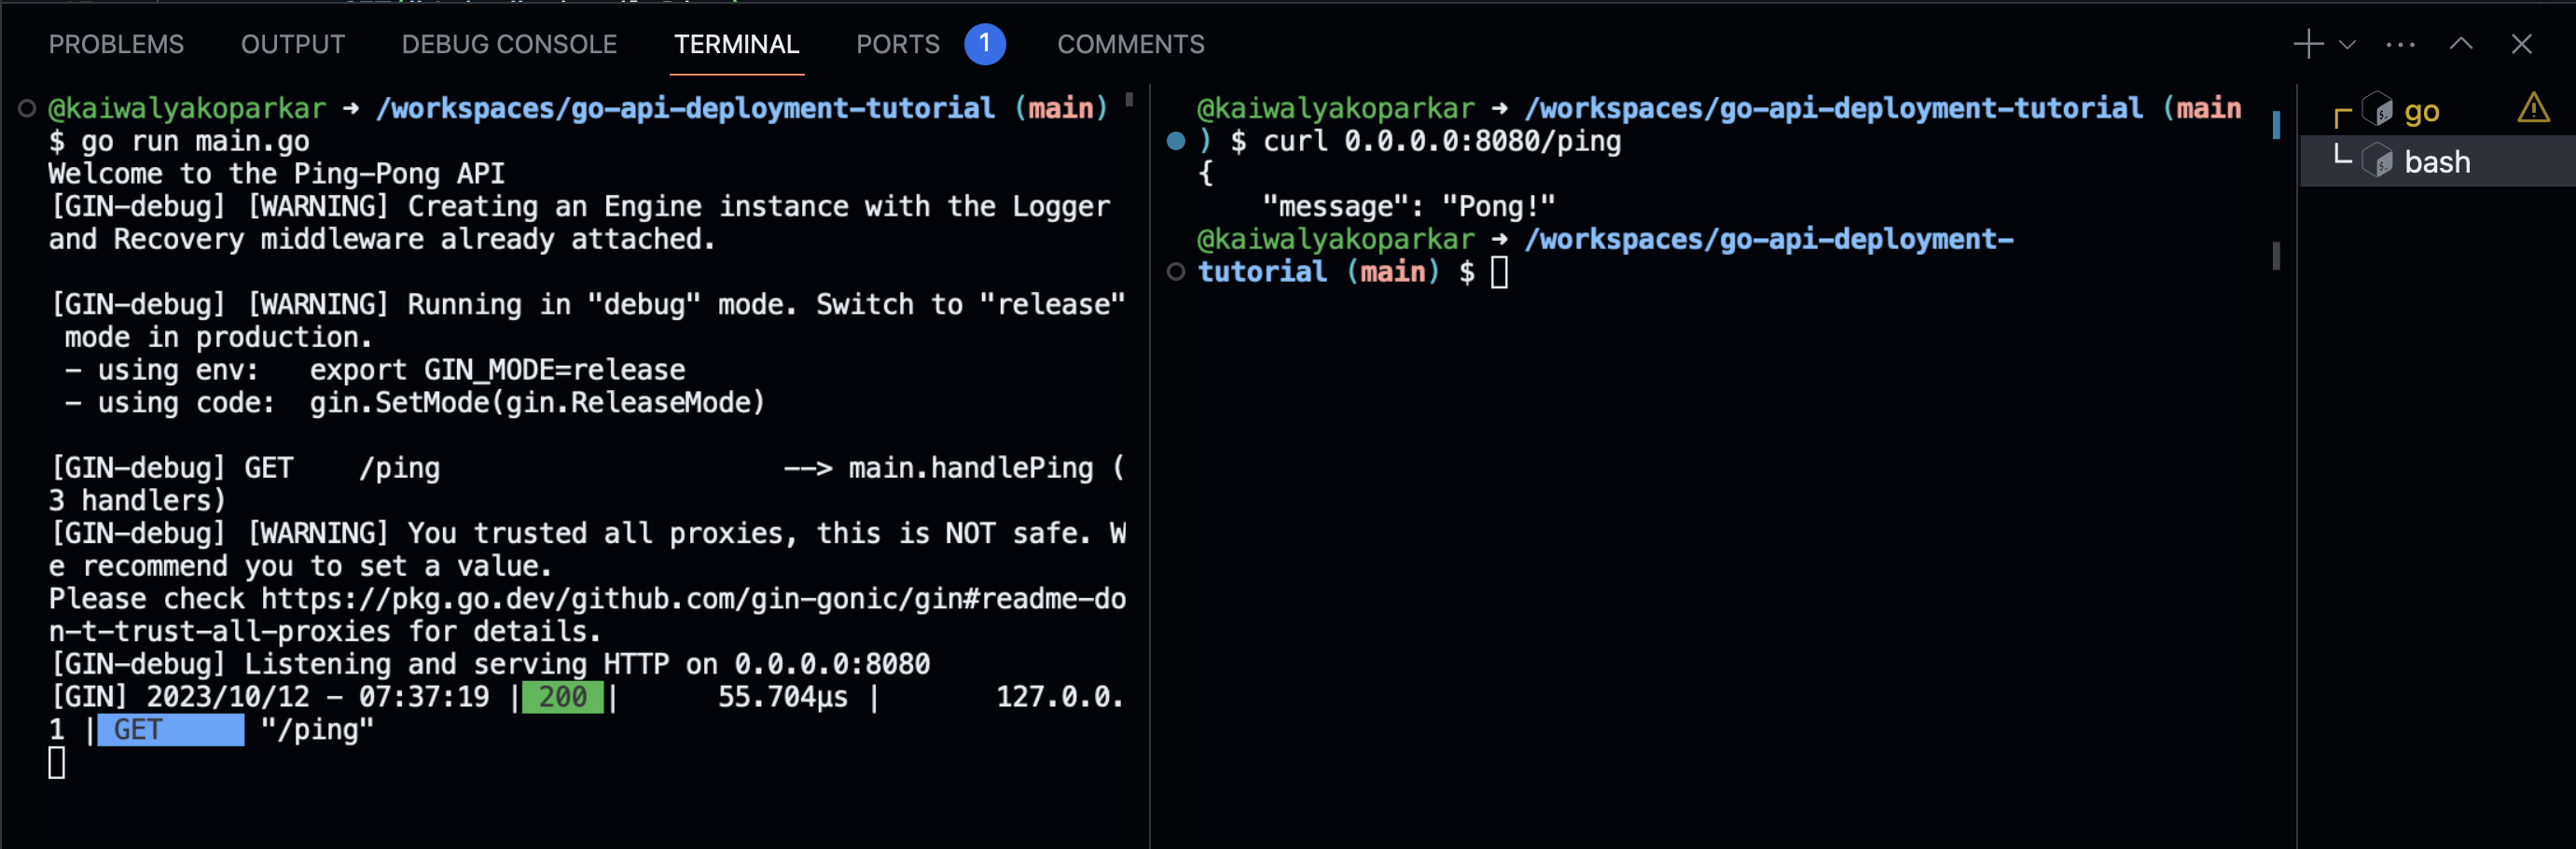
After this, you can try out running your API and testing the /ping endpoint using curl or the "Open in browser" option
Deploying your API
Go ahead and create another file called elestio.yaml in your root directory and add the following code to it
config:
  runTime: "GO"
  version: ""
  framework: "GO"
  buildCommand: "go build -o main"
  buildDir: "./"
  runCommand: "./main"
ports:
  - protocol: "HTTPS"
    targetProtocol: "HTTP"
    listeningPort: "443"
    targetPort: "8080"
    targetIP: "172.17.0.1"
    public: true
    path: "/"
    isAuth: false
    login: ""
    password: ""
exposedPorts:
  - protocol: "HTTP"
    hostPort: "8080"
    containerPort: "8080"
    interface: "172.17.0.1"
environments:
  - key: "ENV"
    value: "production"
webUI:
  - url: "https://[CI_CD_DOMAIN]/ping"
    label: "Website"
This file states the configurations for your applications like the build and run commands you want to run to start your go API, then ports. Here the reverse proxy configuration is listening to the port 443 of the public IP address and the port 8080 is the port exposed by the Docker containers. All the traffic to the port 443 will be redirected to the port 8080 . Environment variables are stated with the webUI link you want to show to quickly access the API from the Elestio dashboard.
After adding this file, commit your code to the repository.
Now go to Elestio, and login and set up the account if you don't already have one set up.
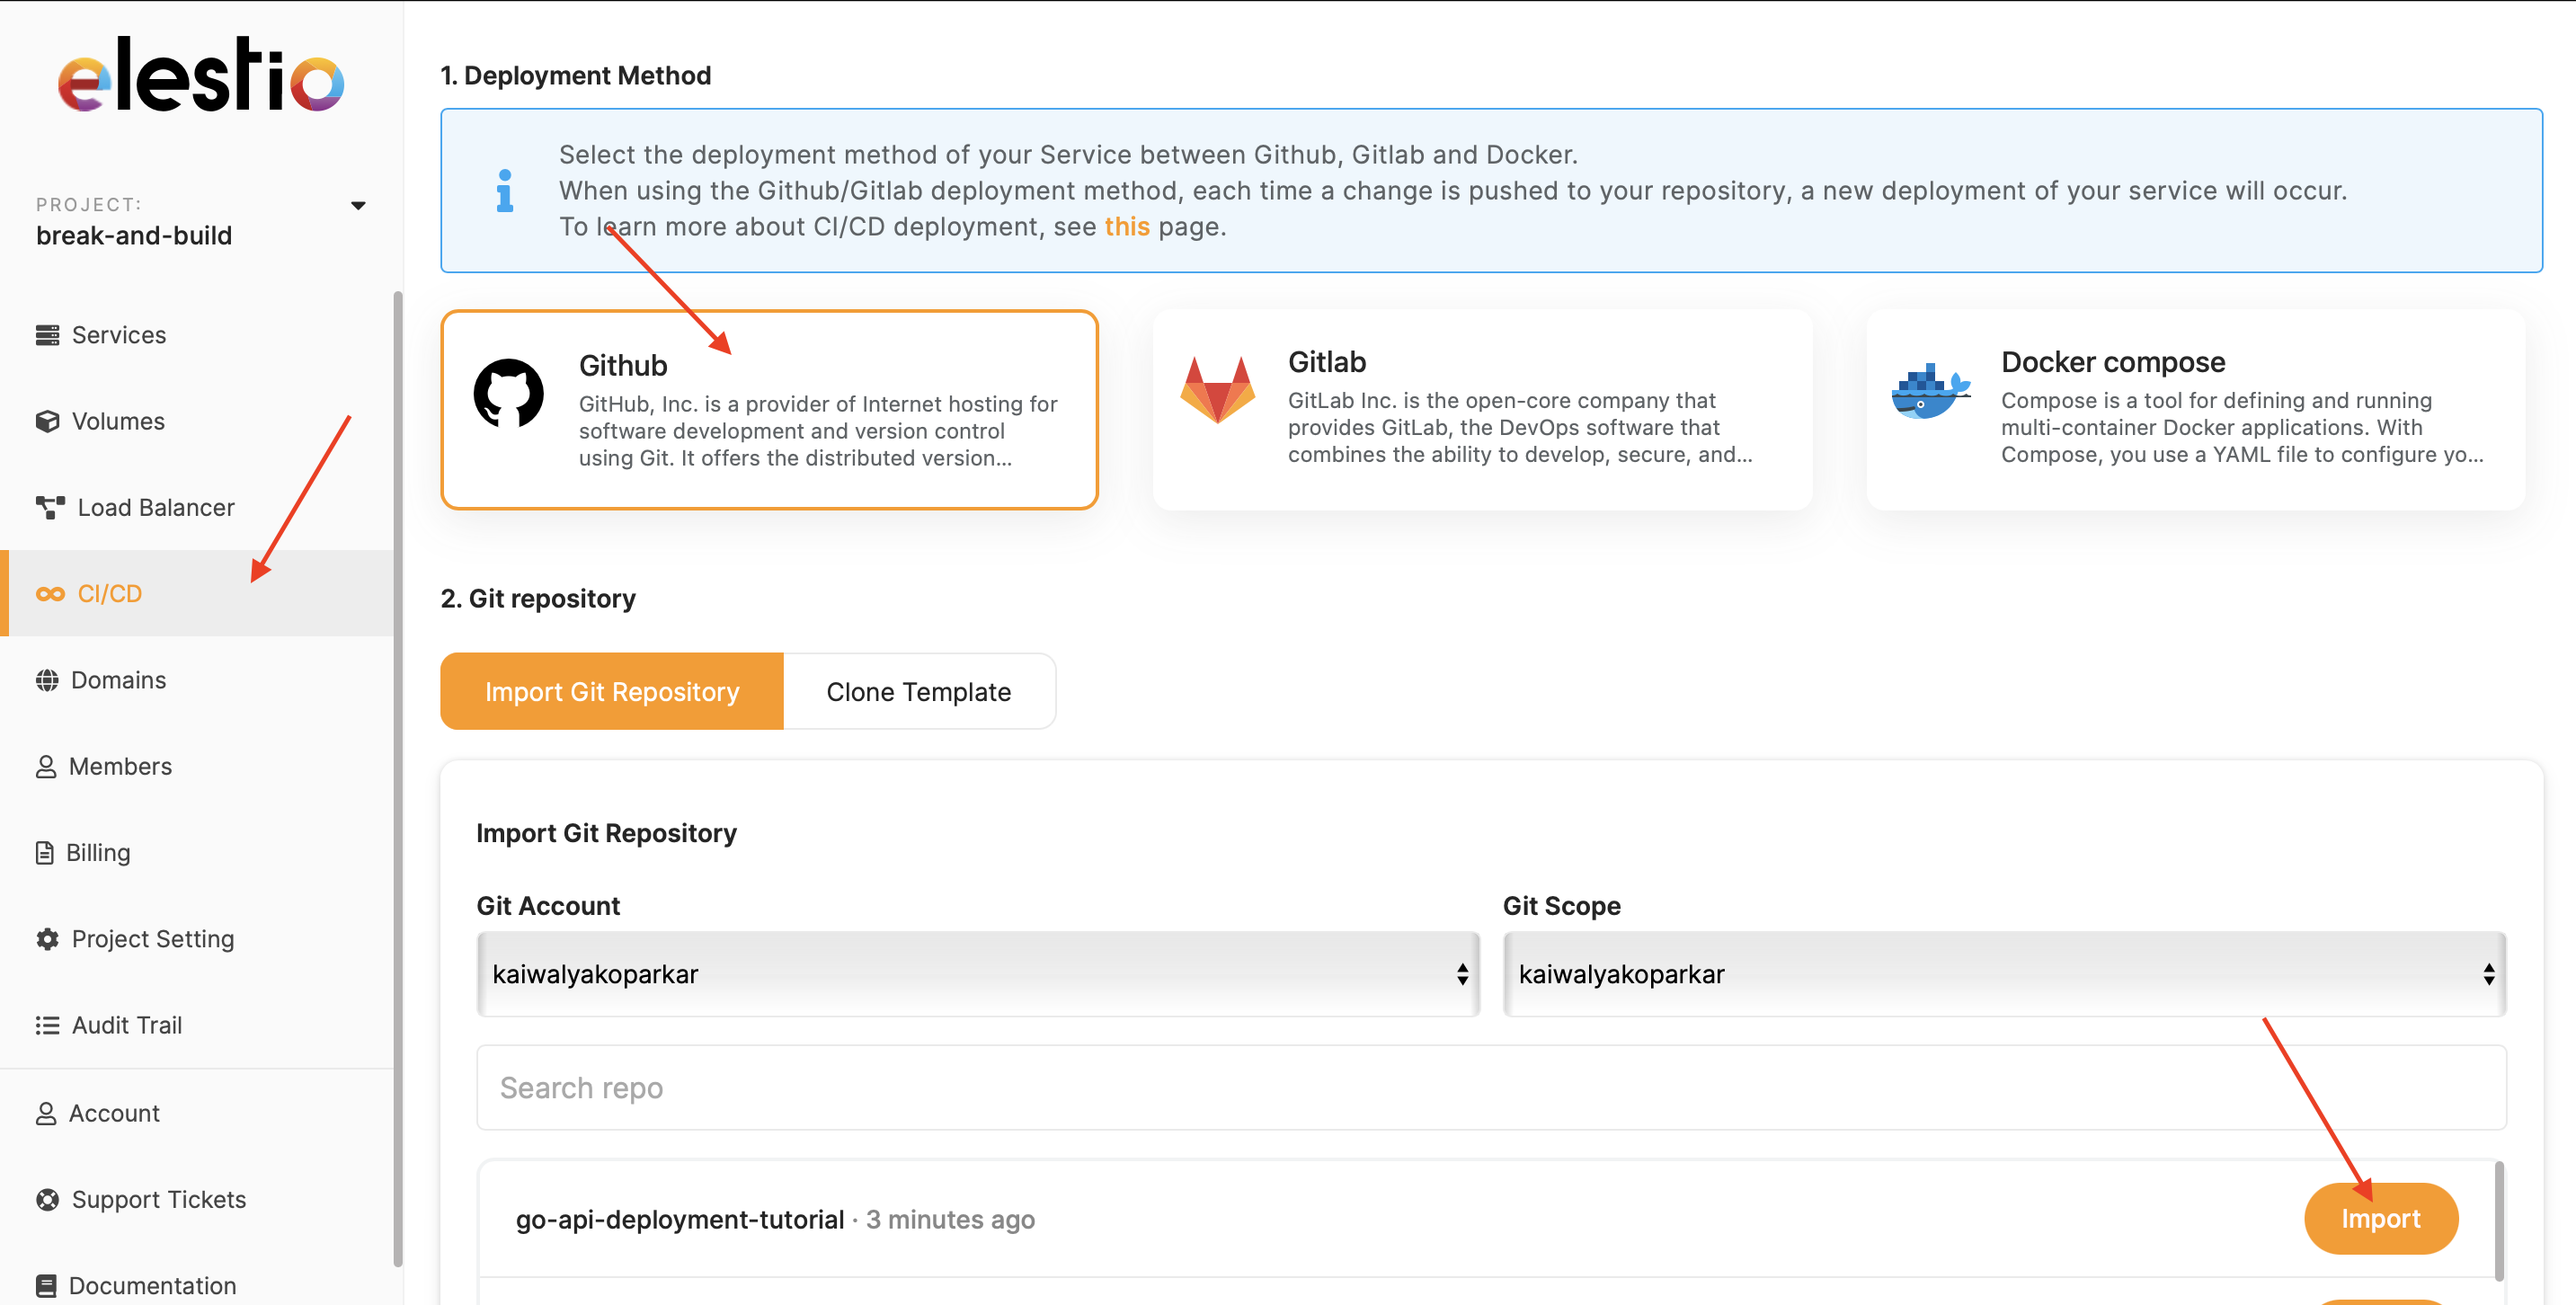
Click on the "CI/CD" section from the left panel select your repository host and the repository that has your Api and click on "Import"
Now select your preferred cloud service provider
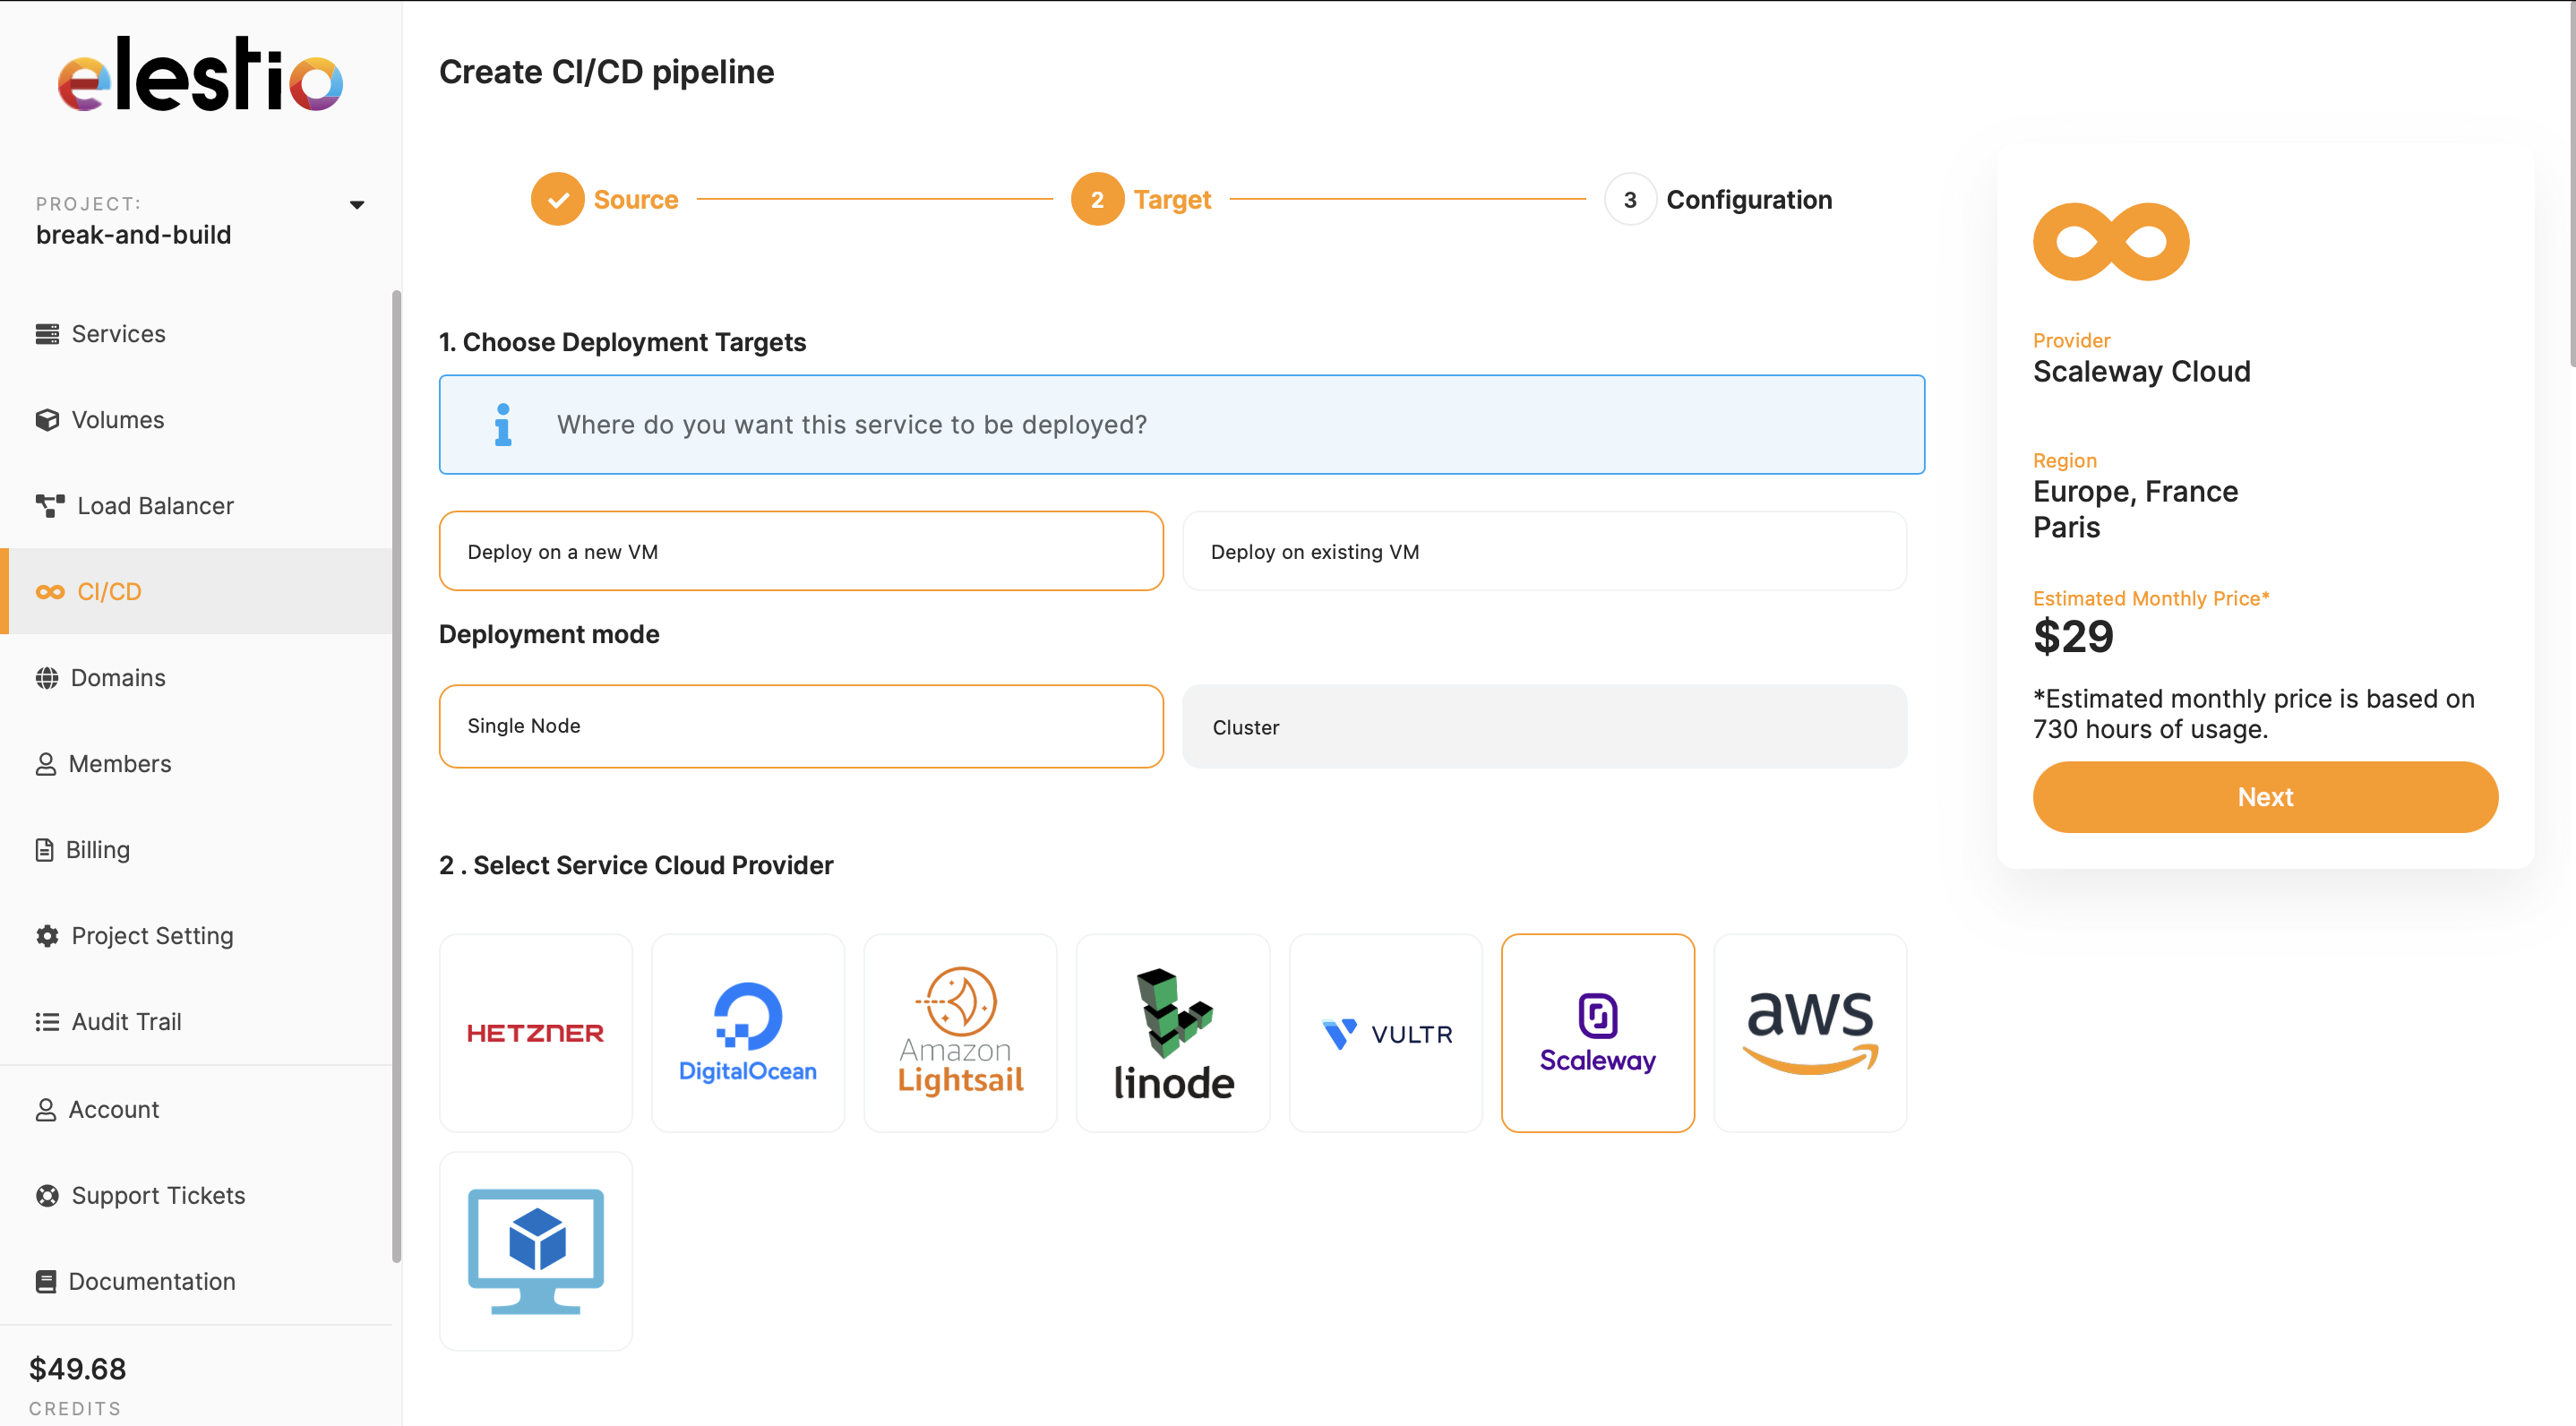
Give the deployment a name of your choice (You can keep the default name too)
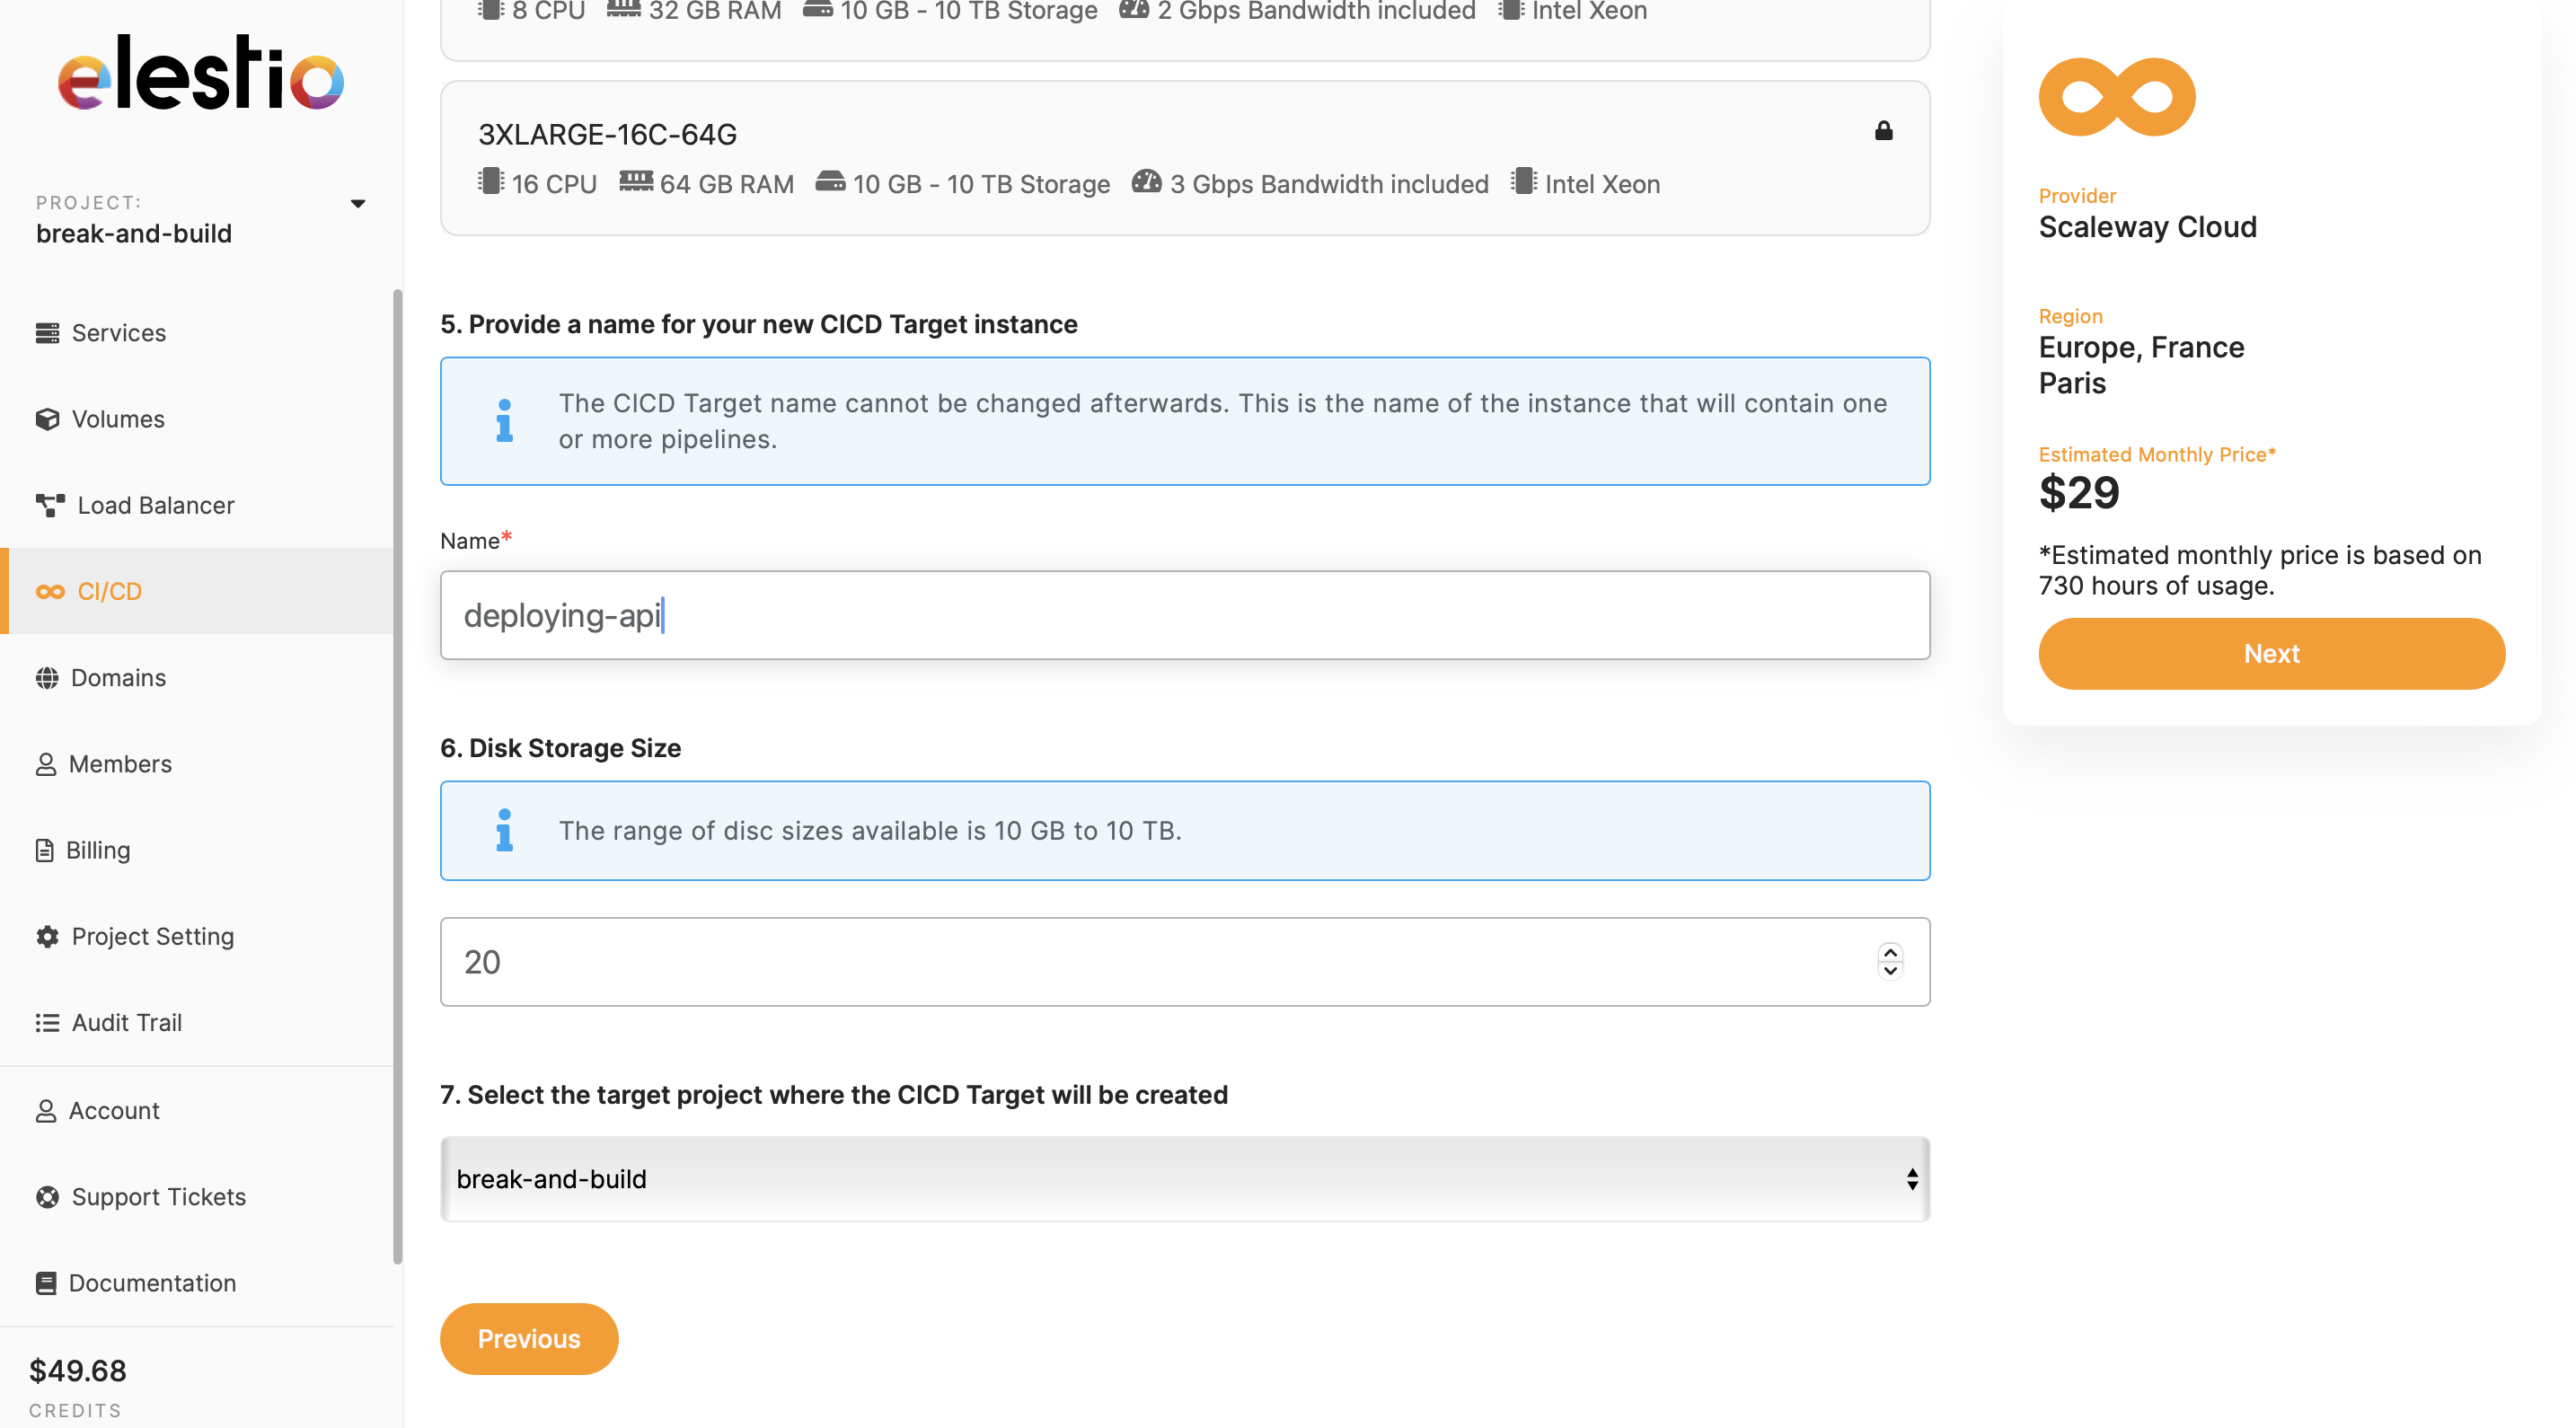
Add a name to your project and Create a CI/CD pipeline

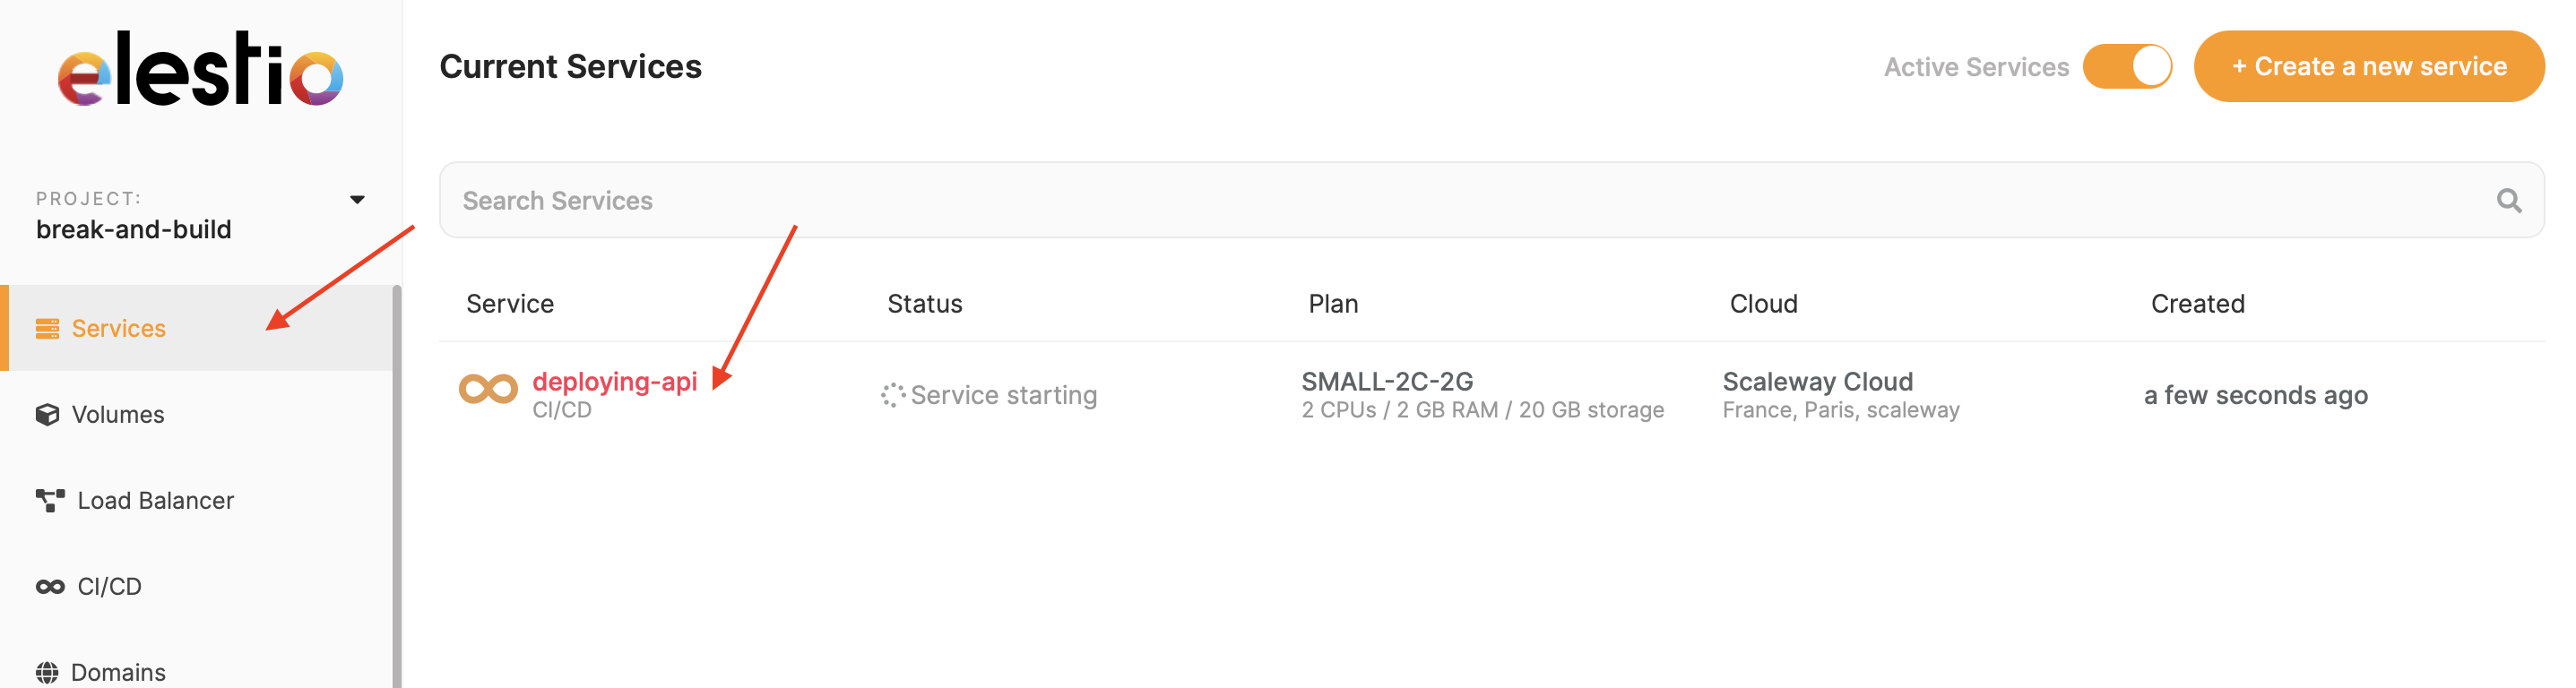
Awesome! You have successfully created a CI/CD pipeline that gets your API to the VMs.
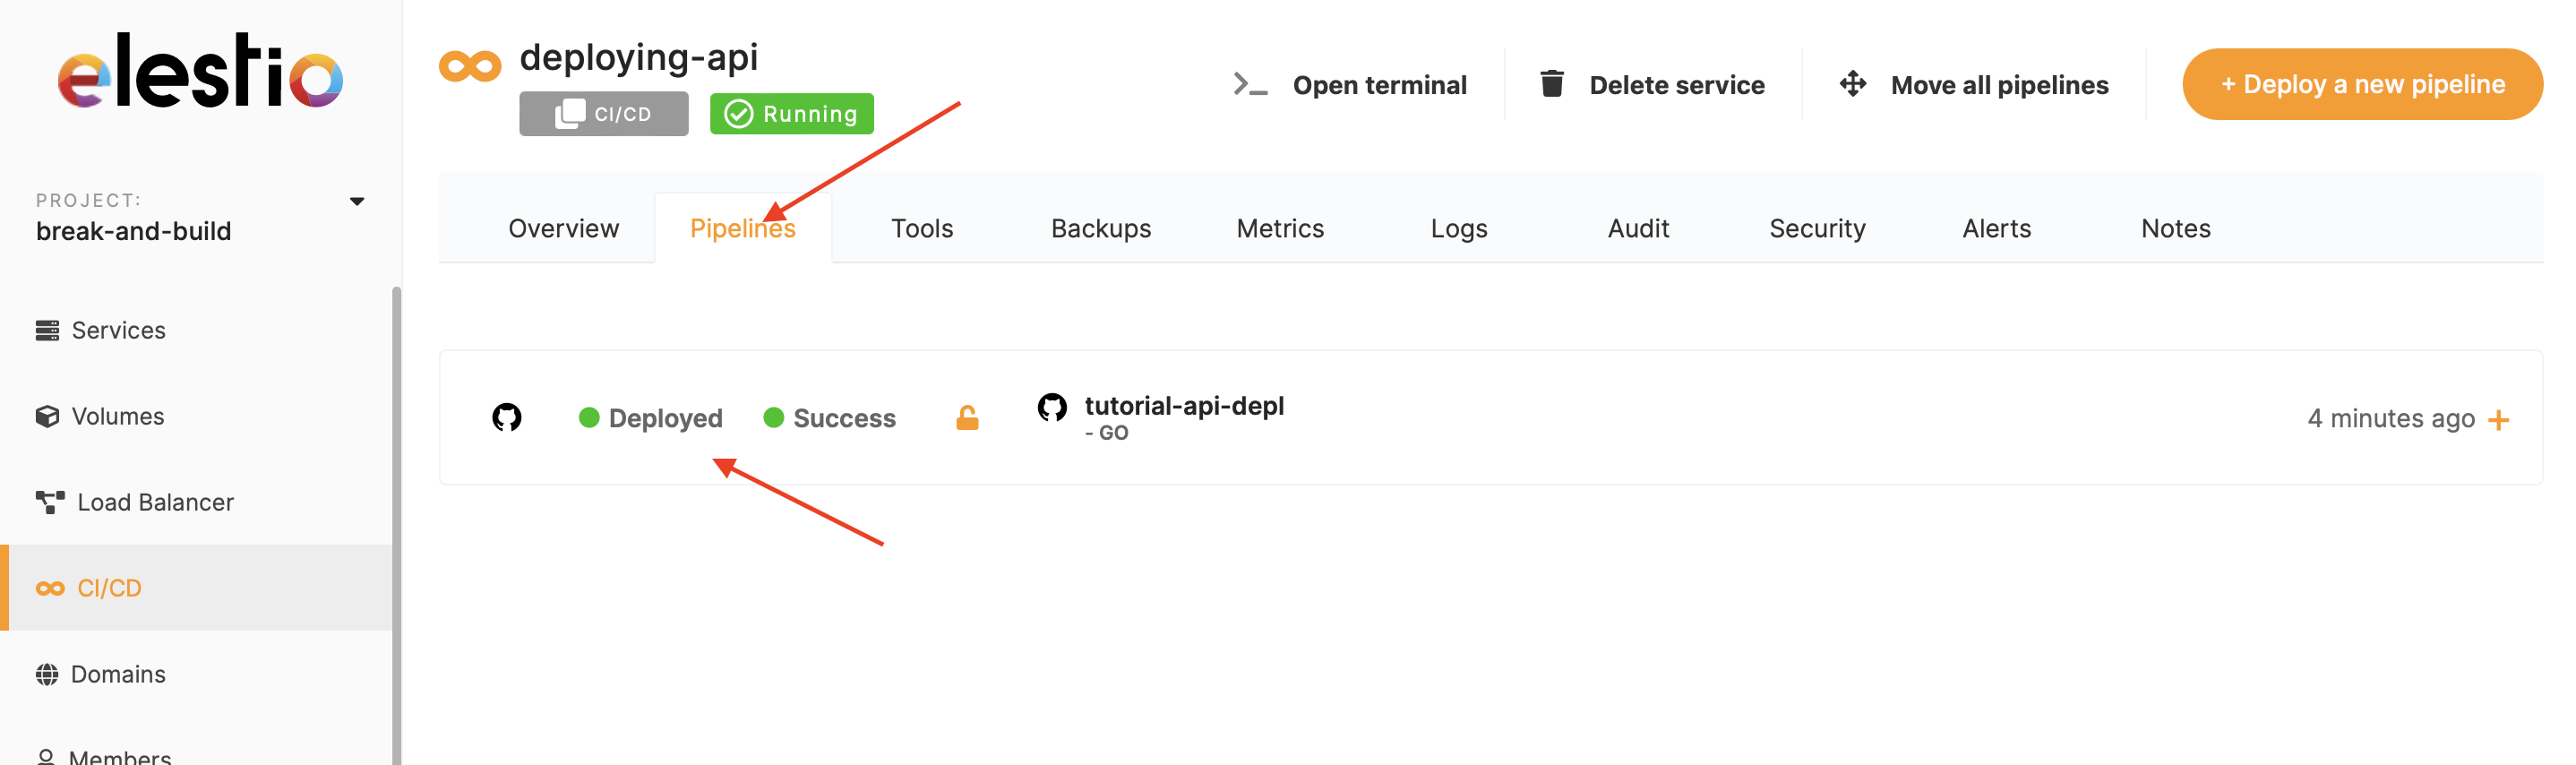
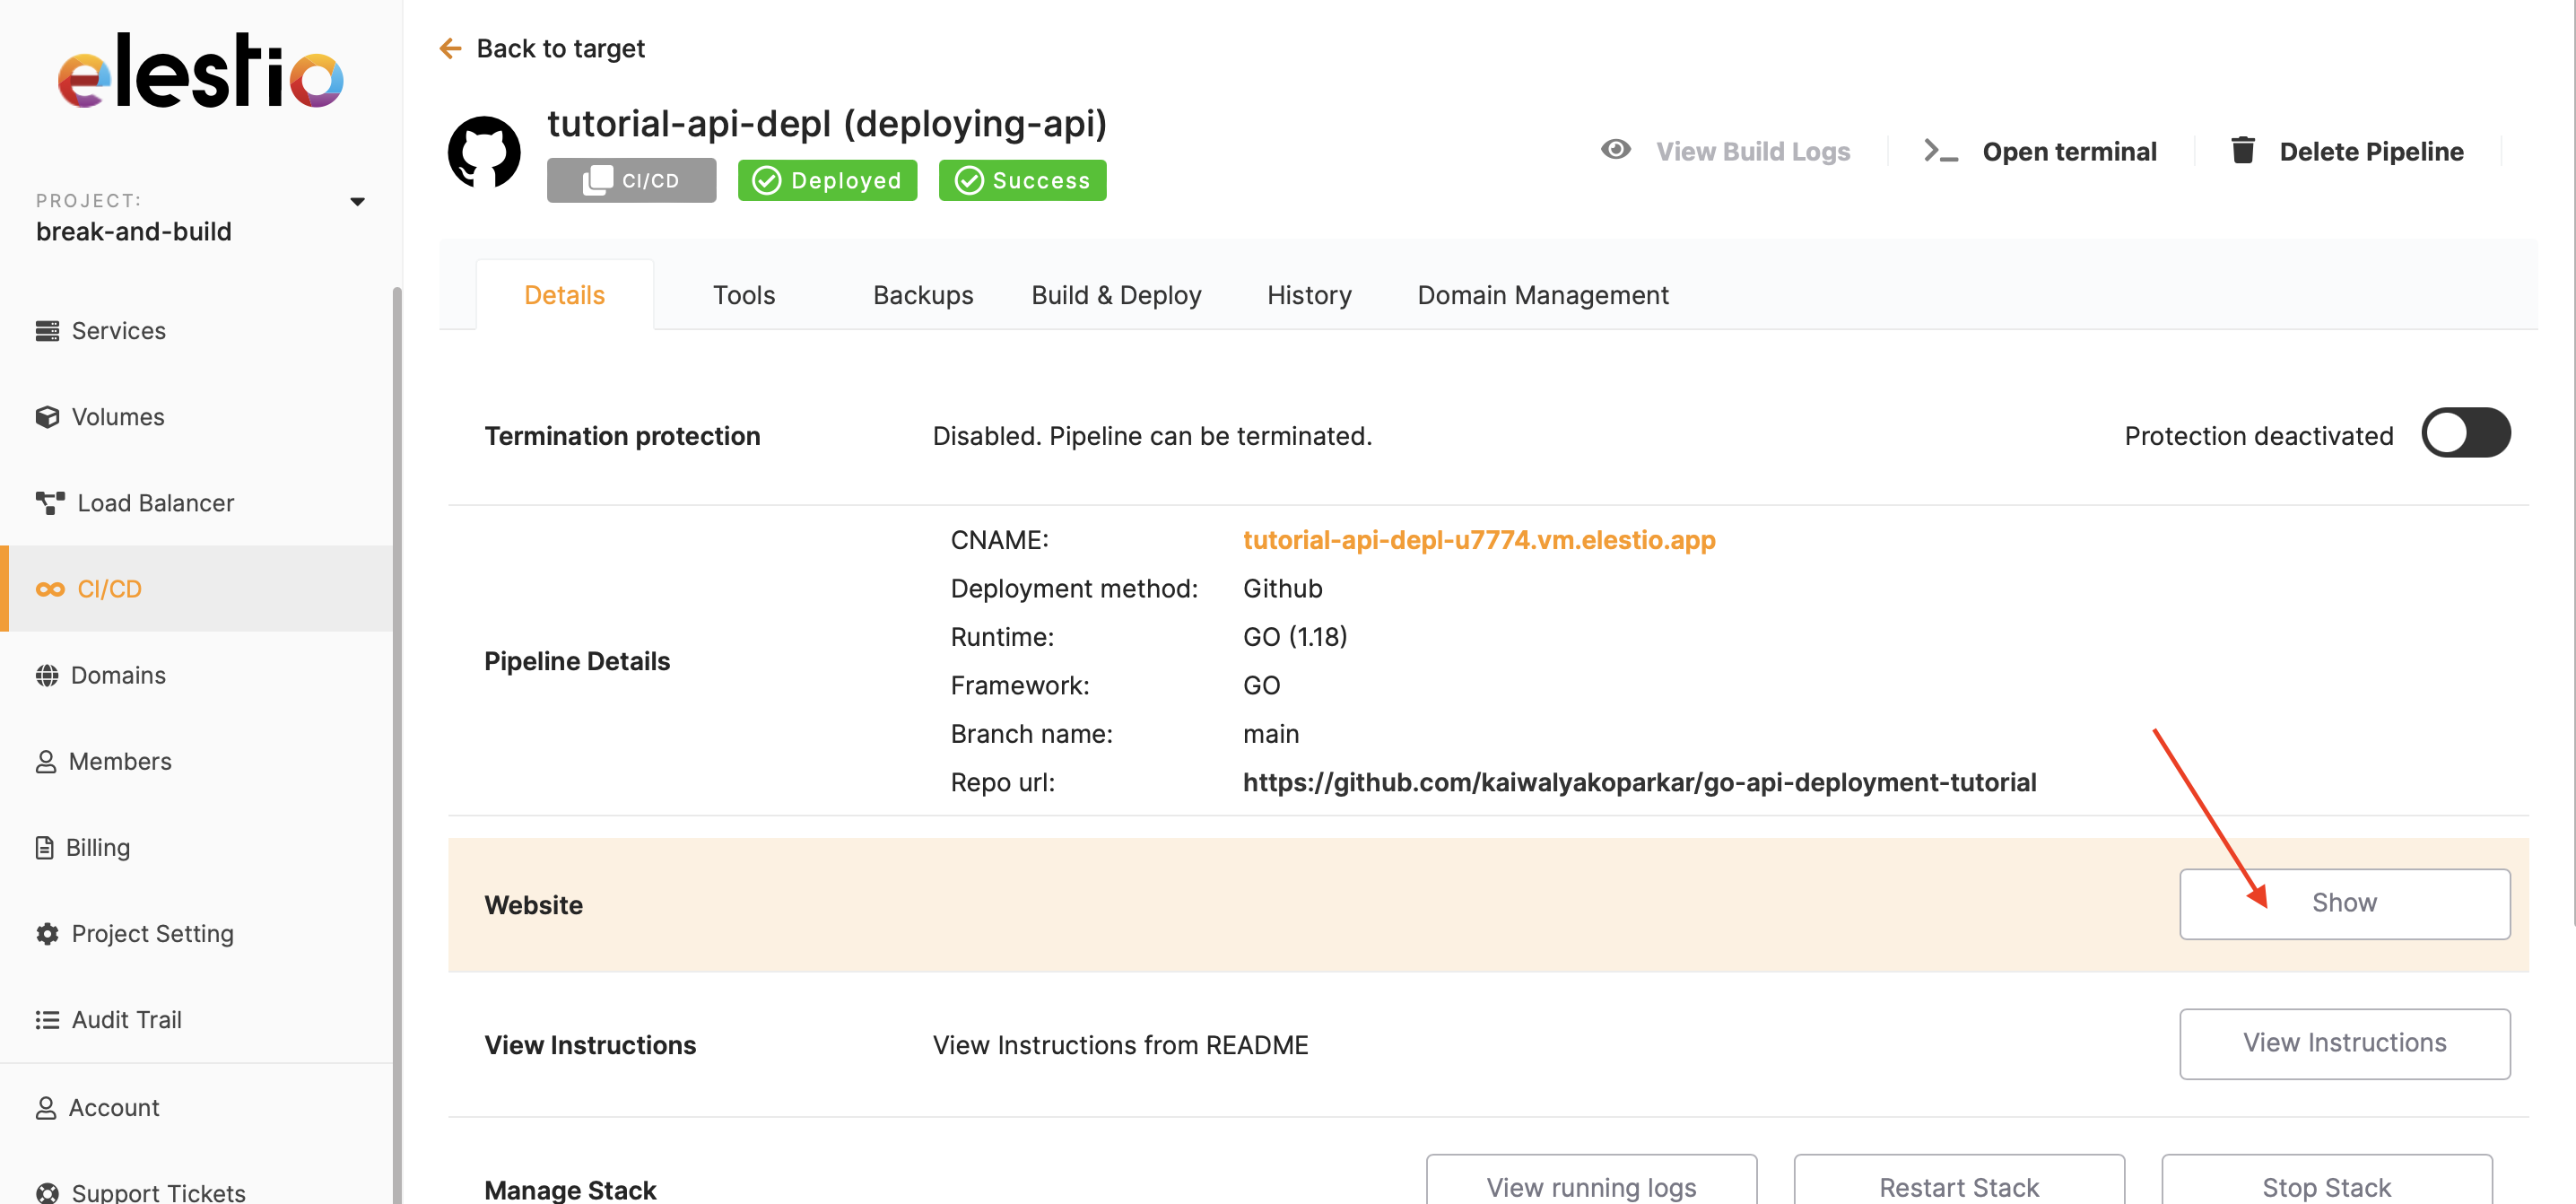
Moving next, click on the "Services" Tab on the left and click on the service you just created.
Now check all the information on the overview if you want else head over to the Pipeline tab
After heading inside you will find an option "Website" Click on it and head over to the link provided in it. It's the API endpoint.
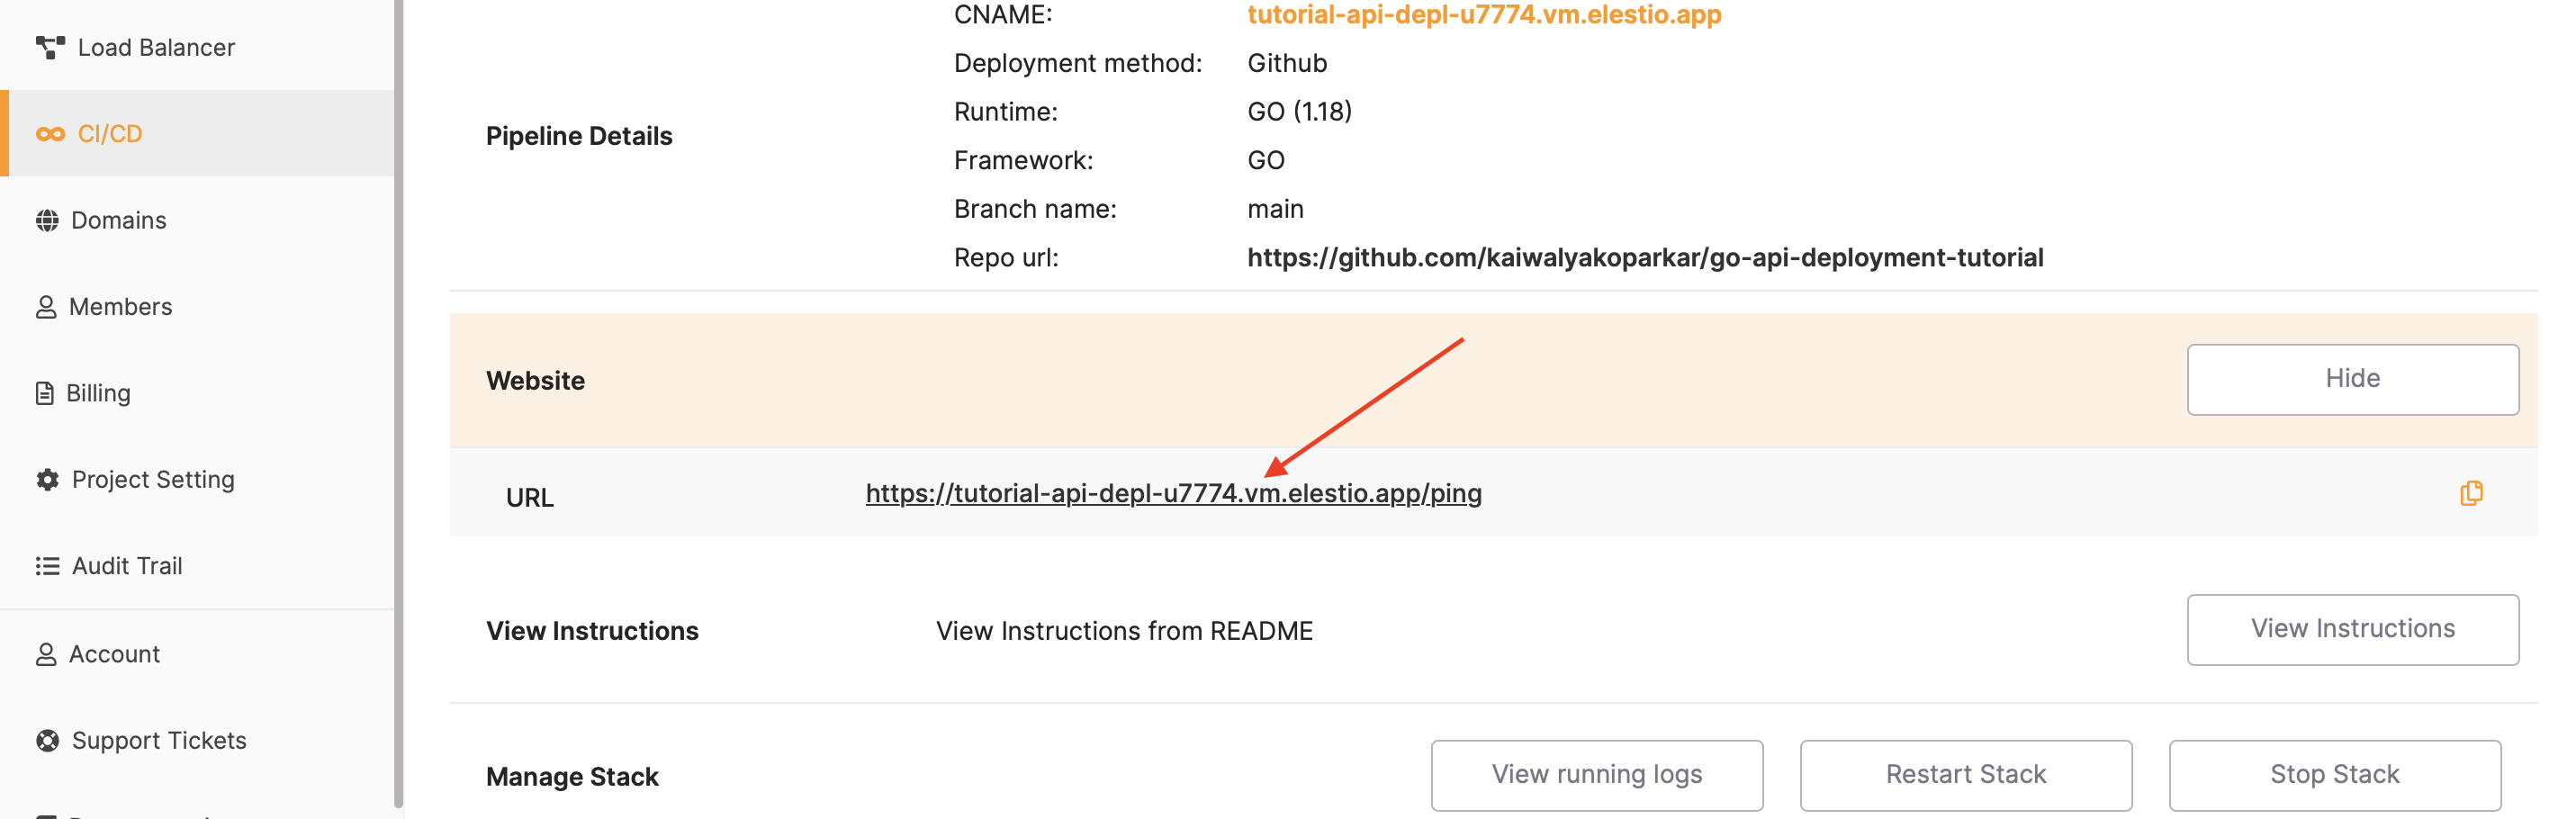
Note that because we only had /ping endpoint, I appended it to the URL provided in the configs. In the general scenario as you have multiple endpoints you can choose the URL to not append /ping and change it to /
As mentioned above if you have multiple API endpoints then it's a bad idea to add them to the URL, you can remove the /ping to get displayed in the URL by updating the elestio.yaml in your code to the following
#Before
webUI:
  - url: "https://[CI_CD_DOMAIN]/ping"
    label: "Website"
#=======================================================
#After
webUI:
  - url: "https://[CI_CD_DOMAIN]/"
    label: "Website"
Accessing your API
You can directly click on the link provided in the dashboard and you will see your response as follows
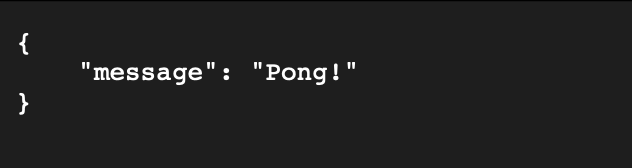
or you can make a curl request from the terminal in your local computer like
curl <url-from-the-dashboard>/pingWhere to go from here?
You can now successfully go ahead and insert this URL into your frontend application and fetch the responses from the new hosted API endpoints. Additionally, you can integrate your Go API with a couple of other databases (again all of them are present on Elestio to easily configure).
More tutorials around the same will be published to help your Go API integrate seamlessly with different databases and effortlessly host them onto Elestio
Thanks for reading ❤️
If you like the blog, then do try out creating your pipelines and if you want to support us then you can add the "Deploy on Elest.io" button to your open source project. Well, that's it for this blog, we will catch up with you in the next one 👋